How to Build a Universal Design for Learning Lesson Plan
You’ve got a class where three kids need extra scaffolding, five are bored and ready to move faster, and two have IEPs that require specific accommodations you’re supposed to weave in seamlessly. Building a lesson that actually reaches all of them without writing five separate plans is why so many teachers start searching for a universal design for learning lesson plan template in the first place.
This guide gives you exactly that. You’ll get a step-by-step framework for structuring a lesson around the three UDL principles: engagement, representation, and action/expression, so differentiation isn’t an afterthought bolted onto a traditional plan but built into the design from the start. No theory-heavy detours, just a practical UDL template you can adapt to your subject and grade level.
Below, I’ll walk through each section of the template, explain what to put in it and why, then show you how to fill one out using a real lesson example. By the end, you’ll have a reusable framework ready for your next planning period, whether you teach middle school science or high school English.
What a UDL lesson plan needs to accomplish
A standard lesson plan starts with an objective and one path to get there: read the chapter, answer the questions, take the quiz. A UDL lesson plan starts with the same objective but builds in several roads to reach it, because you already know your class won’t all travel the same one at the same speed. The plan has to separate the learning goal from the method of getting there, so a student who struggles with reading and a student who reads two grade levels ahead can hit the exact same standard through different means.
A UDL lesson plan works when the goal stays fixed but the path to it stays flexible.
That separation is the whole point of the CAST UDL framework, and it’s what your template needs to force you to do on paper, not just think about in the moment. Every section of the plan should map back to one of three questions drawn from the CAST UDL guidelines, and if a section doesn’t answer one of them, it’s not doing UDL work yet.
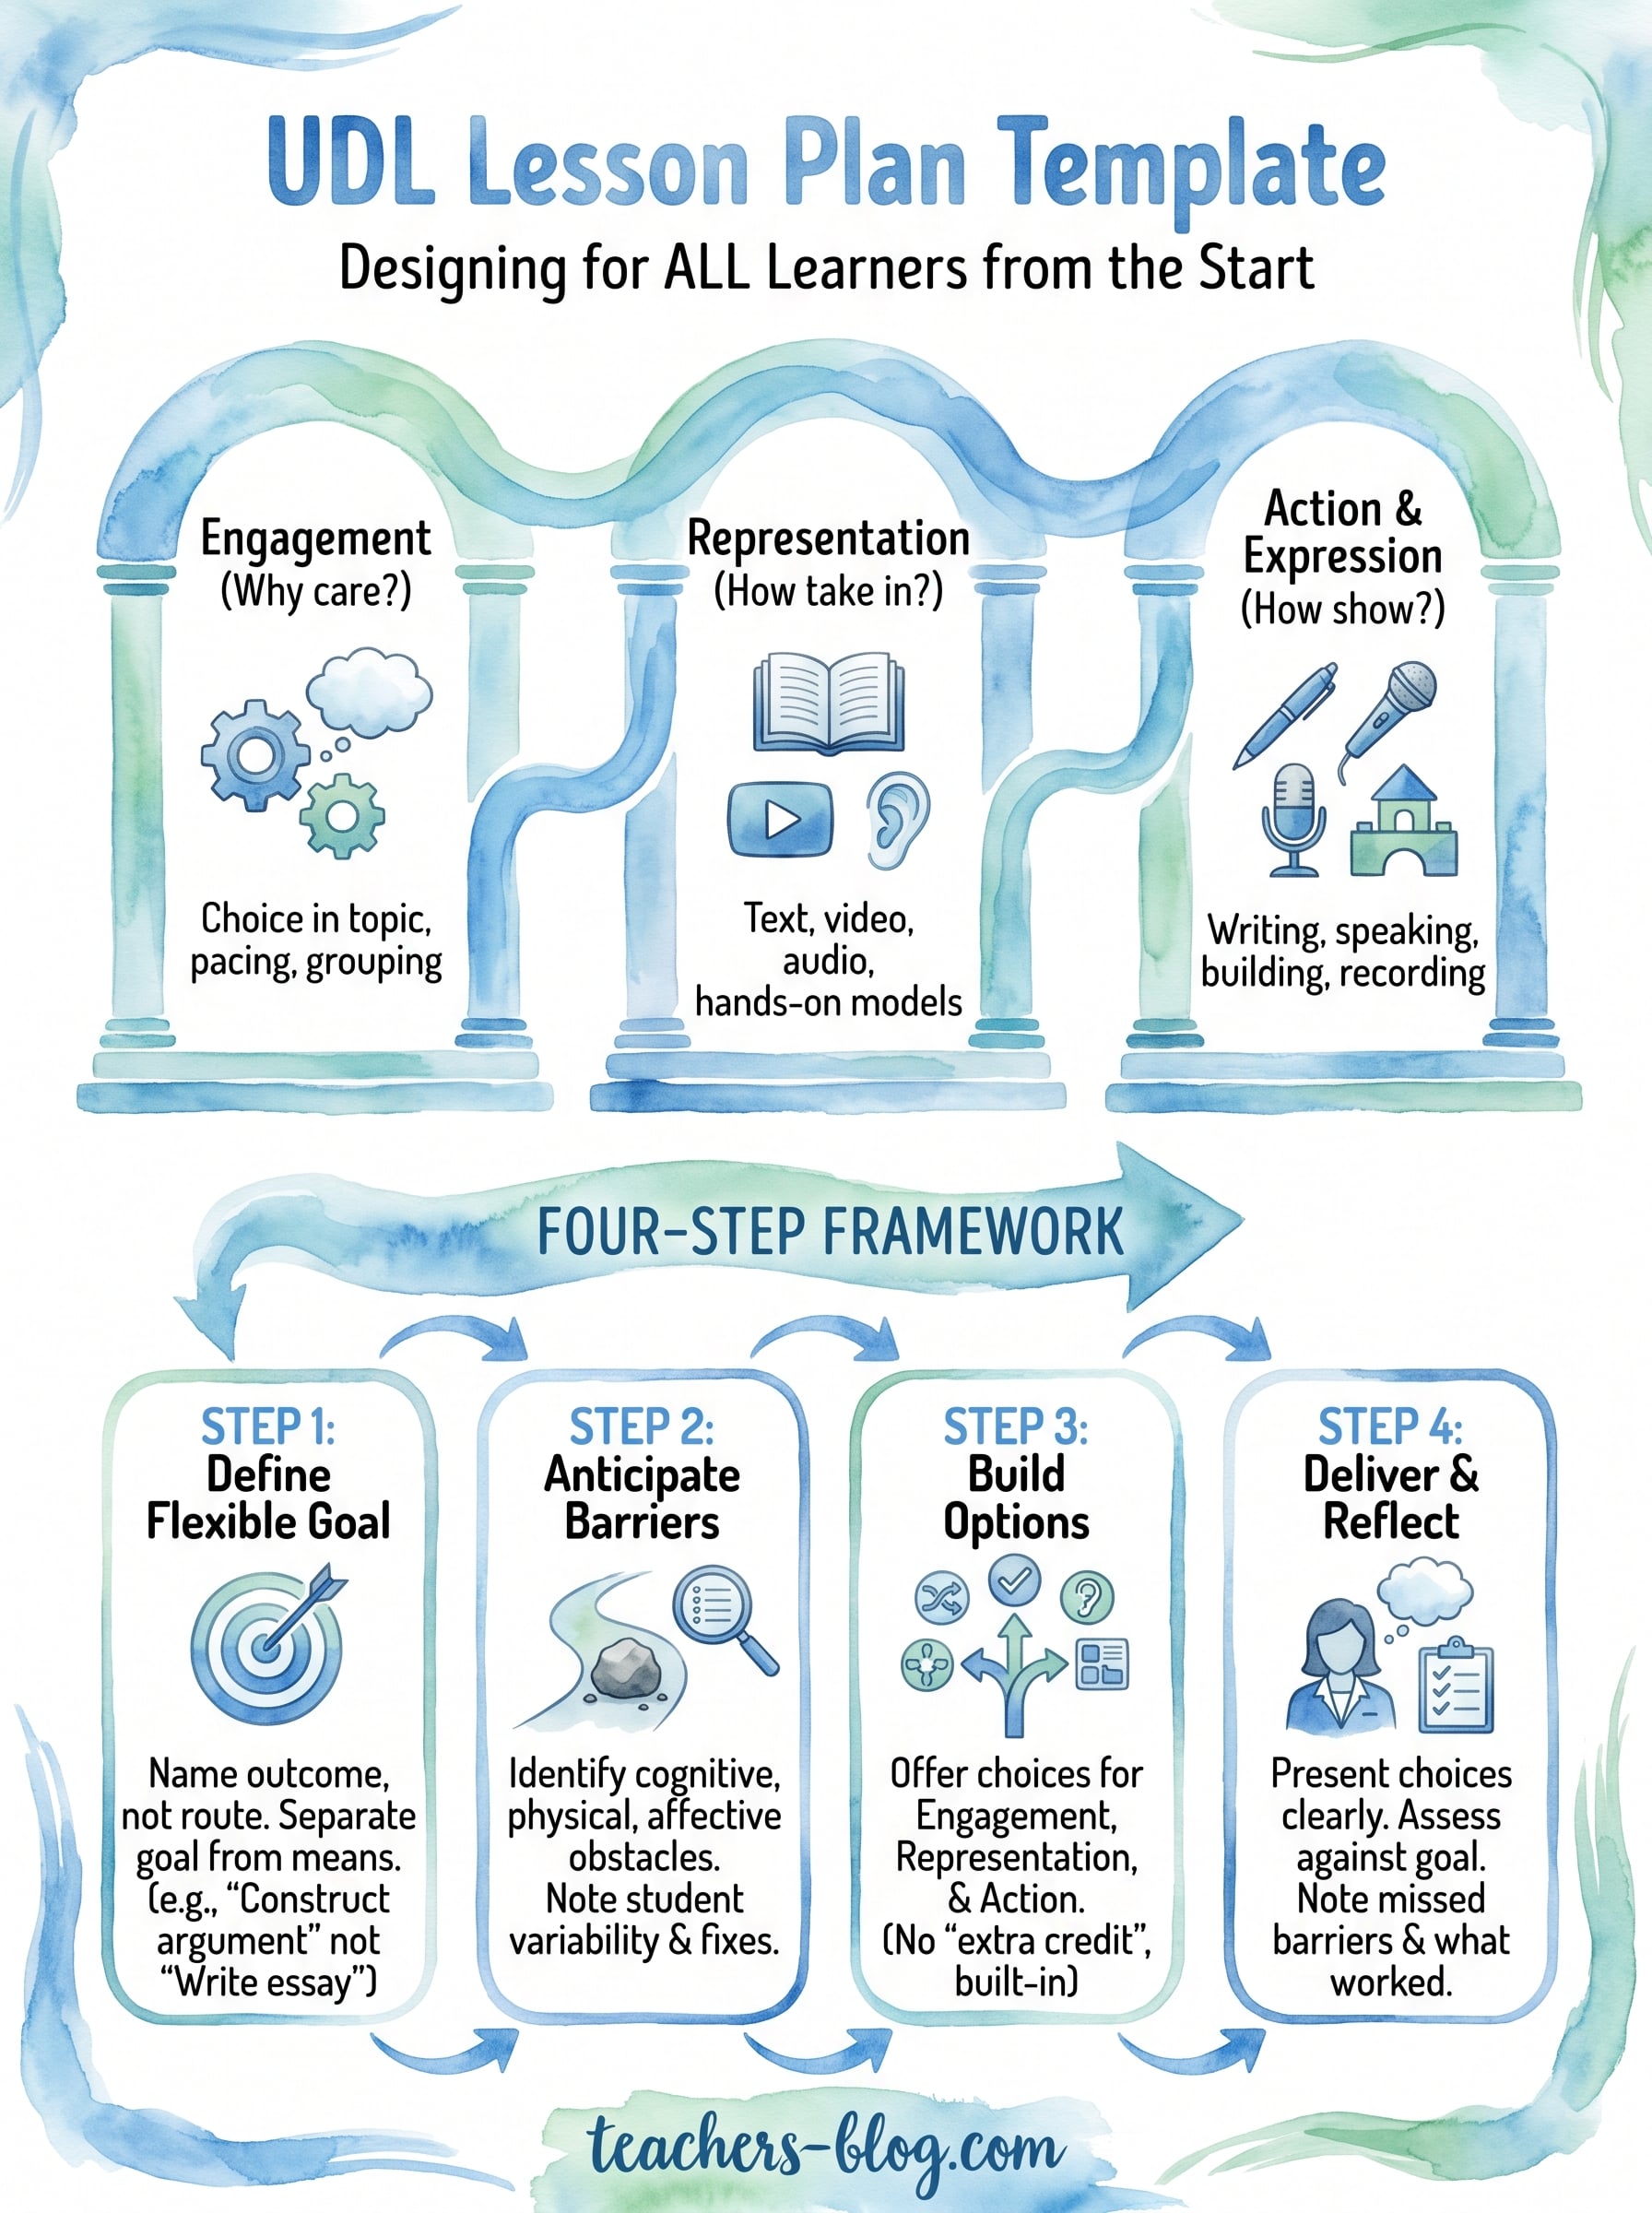
The three questions your template has to answer
| Principle | Question it answers | What you build into the plan |
|---|---|---|
| Engagement | Why should students care? | Choice in topic, pacing, or grouping |
| Representation | How will they take in the content? | Text, video, audio, hands-on models |
| Action & Expression | How will they show what they know? | Writing, speaking, building, recording |
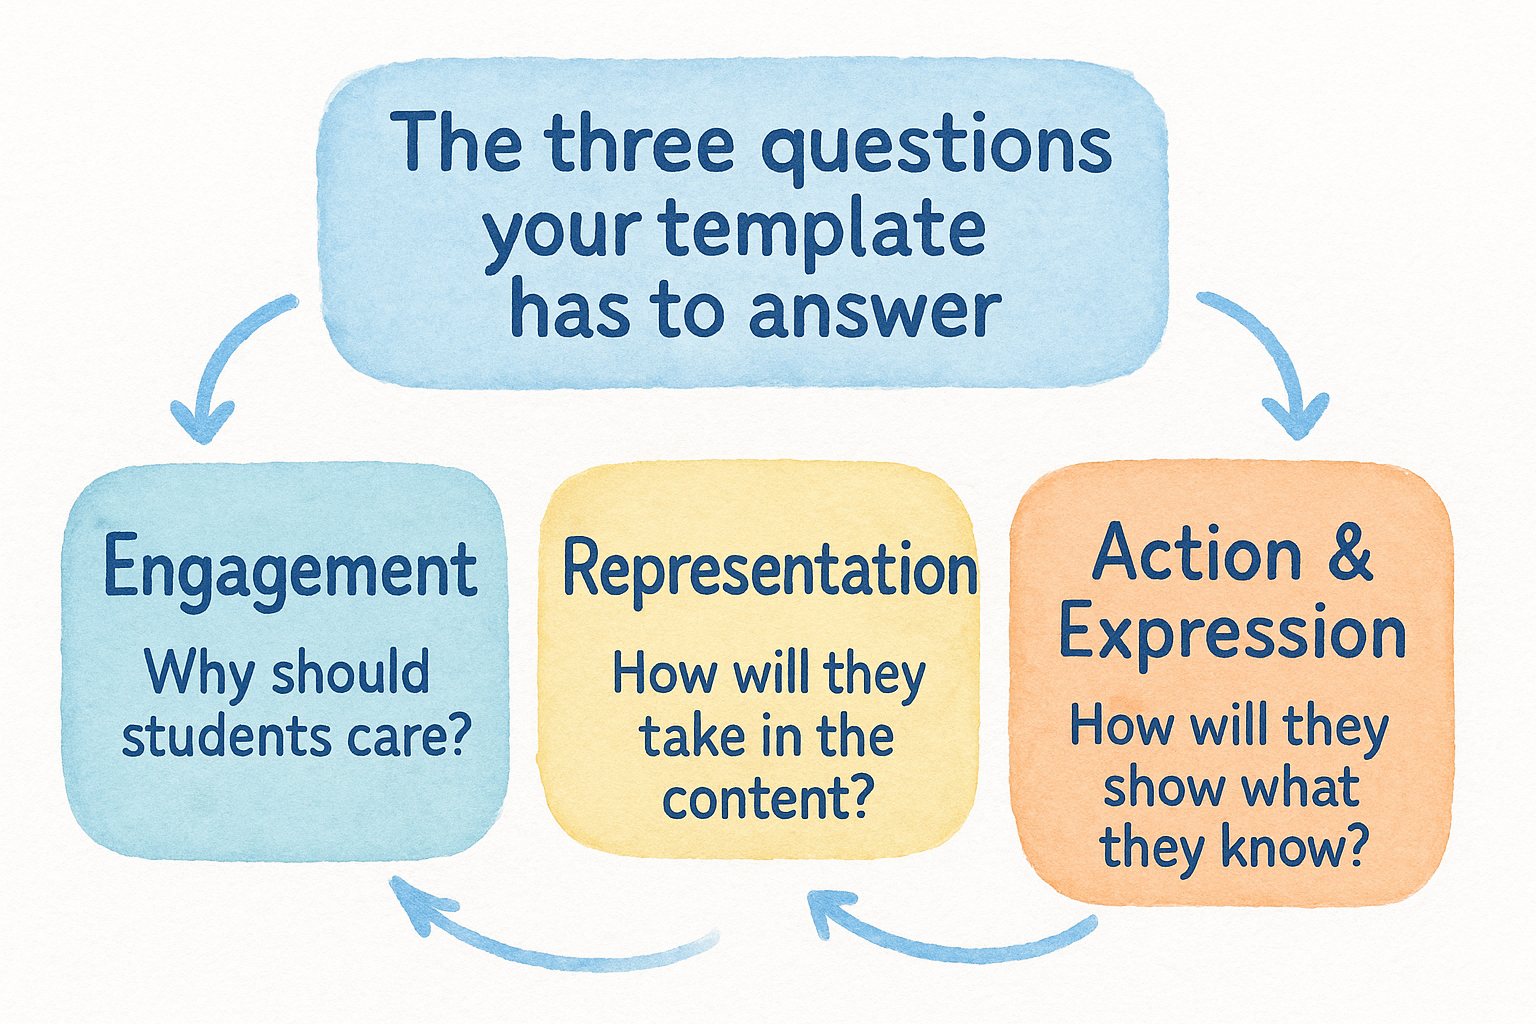
Building these three columns into your plan up front does more than help the two students with IEPs. It quietly covers the kid who’s bored, the one who’s behind, and the one who’s fine but learns better by talking through ideas than by writing them down. You’re not writing three plans anymore; you’re writing one plan with branches.
Finally, the plan needs a built-in checkpoint for barriers. Before you ever teach the lesson, the template should push you to ask what might stop a student from engaging, understanding, or demonstrating learning, and to note a fix next to each barrier. That’s the piece most lesson plan formats skip entirely, and it’s the piece that turns a generic template into an actual UDL lesson plan template you’ll reuse instead of abandon after one unit.
Step 1. Define a clear, flexible learning goal
Every UDL lesson plan starts with a goal that names the outcome, not the route to it. Write down what students need to know or do, then strip out any verb that locks them into one method. "Write a five-paragraph essay" is a method. "Construct and support an argument with evidence" is a goal. That distinction matters because a flexible learning objective lets a student who struggles with handwriting record an argument aloud and still hit the same standard as the student who types it out.
If your objective names the tool instead of the skill, you’ve already limited who can reach it.
Separate the goal from the means
Run every draft objective through a quick filter before it goes in the plan.
- Does it name a skill (analyze, argue, calculate, explain) rather than a product (essay, worksheet, poster)?
- Could two different students meet it using two different formats?
- Does it still map directly to your grade-level standard?
| Locked-in objective | Flexible UDL version |
|---|---|
| Write a paragraph explaining photosynthesis | Explain the process of photosynthesis |
| Complete the worksheet on the water cycle | Demonstrate understanding of the water cycle |
| Give an oral presentation on a historical figure | Present research on a historical figure |
Anchor it to the standard
Once the goal is written this way, check it against your learning standard and your learning targets and success criteria one more time. The essential outcome shouldn’t shrink just because you’ve opened up the format. If anything, writing it broadly forces you to think harder about what mastery actually looks like, which pays off later when you’re deciding what counts as evidence in Step 4.
Step 2. Identify barriers and anticipate student variability
Before you write a single activity, pause and ask what could stop a student from reaching the goal you just wrote. This is the step most templates skip, and it’s where student variability actually gets addressed instead of just acknowledged in a staff meeting. Think in three categories: cognitive barriers (reading level, working memory, attention), physical barriers (vision, hearing, fine motor skills), and affective barriers (anxiety, low confidence, lack of background knowledge). Name the actual students in your class next to each one, not a hypothetical.
A barrier you don’t name in the plan is a barrier you’ll discover mid-lesson, in front of the whole class.
Build a barrier-and-fix column
Your UDL lesson plan template should have a dedicated space for this, structured like a quick checklist you fill out during planning, not during teaching.
- List each anticipated barrier (e.g., "struggles to decode multisyllabic words")
- Name which students it affects
- Write one concrete fix next to it (audio version of the text, sentence starters, a visual glossary)
- Flag which fixes are IEP-required versus proactive extras
Use what you already know
You don’t need new data to do this well. Pull from IEP accommodations, last unit’s exit tickets, and your own memory of who checked out during independent reading last week, the same raw material differentiation in special education runs on. This is also where anticipating learning barriers pays off for the kids without formal plans, the ones who are quietly behind or quietly bored but never flagged for support. Once you’ve listed the barriers, Step 3 becomes a matter of matching a fix to each one instead of guessing blind during the lesson itself.
Step 3. Build in engagement, representation, and action options
With your barrier list in hand, turn each fix into a concrete option inside the lesson itself. This is where the UDL lesson plan template stops being a planning document and starts shaping what actually happens in the room. For every barrier you flagged in Step 2, add at least one option under engagement, representation, or action and expression that removes it, the way these UDL classroom examples that remove barriers do, rather than hoping students adapt on their own.
Options aren’t extra credit add-ons, they’re the mechanism that makes the same lesson reachable for every student in the room.
Give students a reason to engage
Build student choice into the entry point of the lesson, not just the extension activities. Offer a pick between working solo, in pairs, or in a small group. Let students choose which of two or three related topics they’ll apply the skill to. Set a visible timer with checkpoints so pacing feels manageable instead of rushed for students who need more processing time.
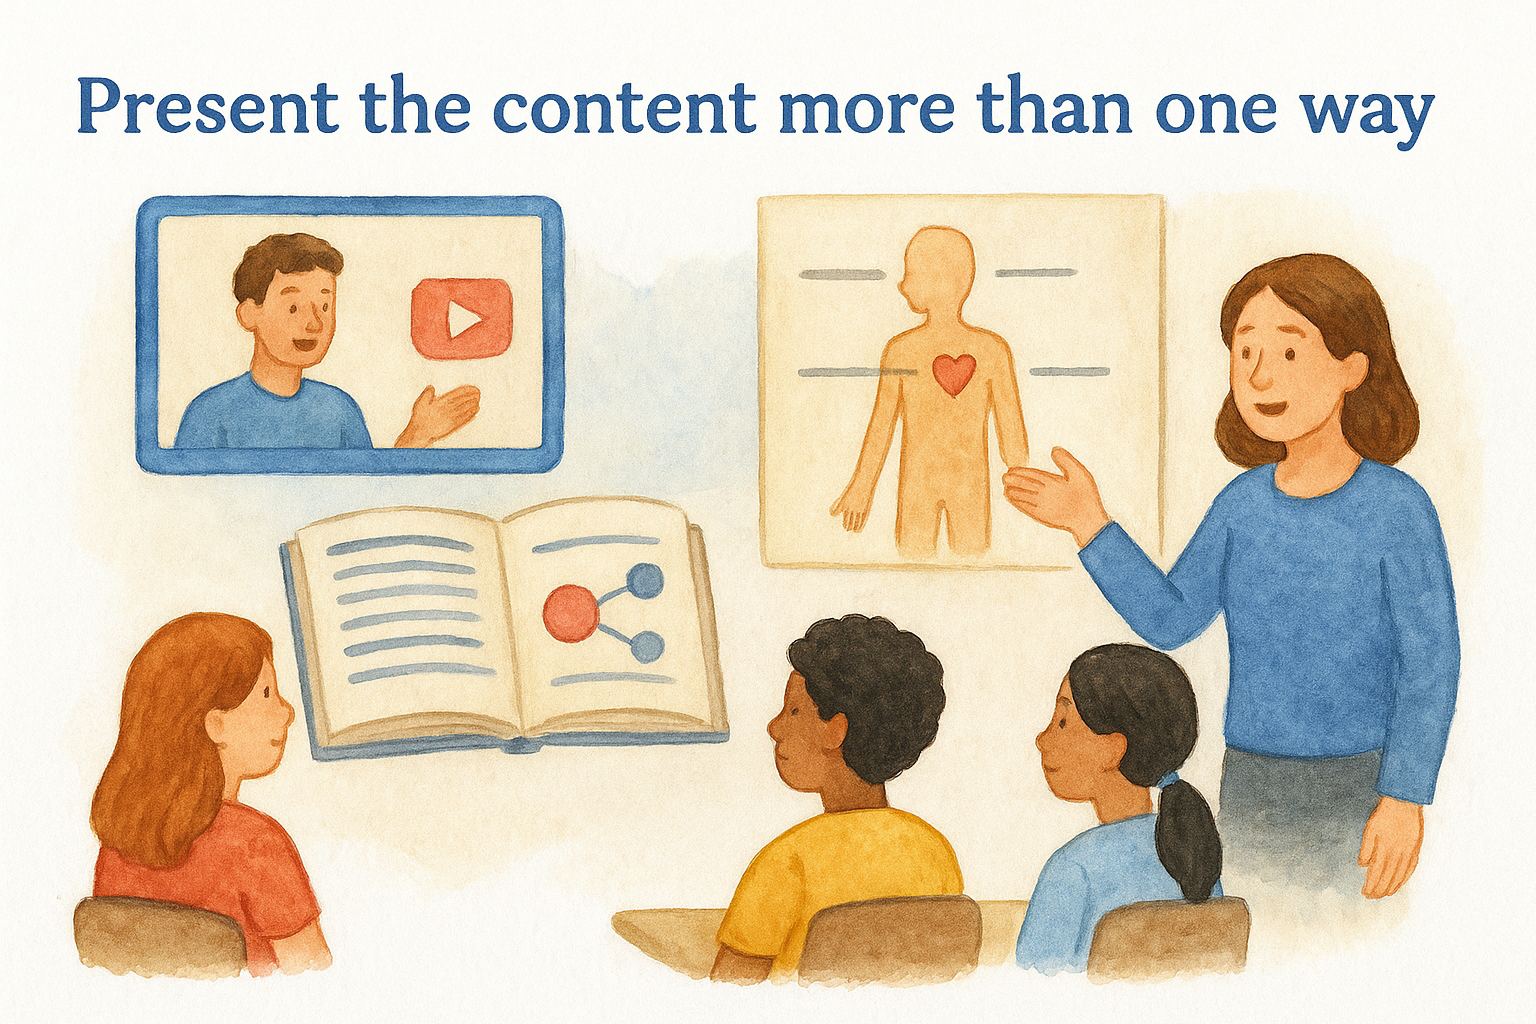
Present the content more than one way
Never rely on a single format to deliver the material, since this is where multiple means of representation does its work. Pair the reading with a short video or audio version. Add a diagram or physical model next to any dense paragraph. Provide a one-page vocabulary sheet for technical terms so decoding isn’t the barrier to understanding the concept.
Open up how students show mastery
Give at least two ways to demonstrate the goal you wrote in Step 1. A student can write a paragraph, record a spoken explanation, or build a labeled diagram, as long as the flexible assessment options map back to the same standard.
- Written response (paragraph, short answer set)
- Verbal explanation (recorded audio, one-on-one conference)
- Visual or built product (diagram, model, slide)
Each option should take roughly the same time and rigor, so choice never becomes a shortcut.
Step 4. Deliver the lesson, assess, and reflect
Once the plan is built, teaching it means presenting the options you designed instead of deciding on the fly who gets what. Walk students through the choices at the start of class so nobody defaults to the hardest path just because they didn’t know an alternative existed. A flexible lesson delivery only works if students actually know the menu, so post the options on the board or hand out a quick reference sheet alongside the task.
The lesson isn’t done being designed the moment class starts, it’s still working as long as you’re watching for who needs a fix mid-task.
Watch for barriers you missed
Stay alert during the lesson for barriers that didn’t make your Step 2 list. Some students freeze up on a format you assumed would be easy, and that’s useful data, not a failure of planning. Jot a quick note on your copy of the plan the moment you notice it, because you’ll forget the specific moment by the end of the day.
Assess against the goal, not the format
Grade every submission against the learning goal from Step 1, regardless of which format a student chose. Use one rubric that describes mastery in terms of the skill, so a recorded explanation and a written paragraph earn the same score if they demonstrate the same understanding. This is where student learning outcomes actually get measured fairly through differentiated assessment for diverse learners, instead of accidentally rewarding whoever picked the format you personally find easiest to grade.
Reflect before you file the plan away
After the lesson, spend five minutes noting what worked, which options nobody chose, and which barrier fix fell flat. Tools like our Report Card Commentor can speed up the individualized feedback loop once grading’s done, freeing up that reflection time, and there’s a full guide to writing report card comments with AI if you want the workflow. File the updated plan where you’ll actually find it next year, because the second pass is always faster than the first.
Making UDL part of your everyday planning
The first time you fill out a UDL lesson plan template, it’ll take longer than your usual planning session. That’s normal. You’re building a new habit, not just a new document. By your third or fourth lesson, naming barriers and building in options will feel like a natural part of drafting any objective, not an extra step tacked onto the end.
Start small. Pick one lesson this week and run it through the four steps here: flexible goal, anticipated barriers, built-in options, and a reflection note when it’s done. Keep that plan, reuse it next year, and build the next one a little faster.
You don’t need to overhaul your whole curriculum overnight. You just need one reusable template and the willingness to fill it out honestly. If you’d rather not build the document from scratch, grab the printable UDL lesson plan template with a worked example and free PDF at The Cautiously Optimistic Teacher.