Choice Boards for Differentiated Instruction: A Complete Guide
Every student in your classroom learns differently, that’s not news to you. But figuring out how to actually address those differences without burning out or planning six separate lessons? That’s the real challenge. Choice boards for differentiated instruction offer one of the most practical solutions: a single framework that gives students autonomy over how they learn while keeping your learning objectives firmly in place.
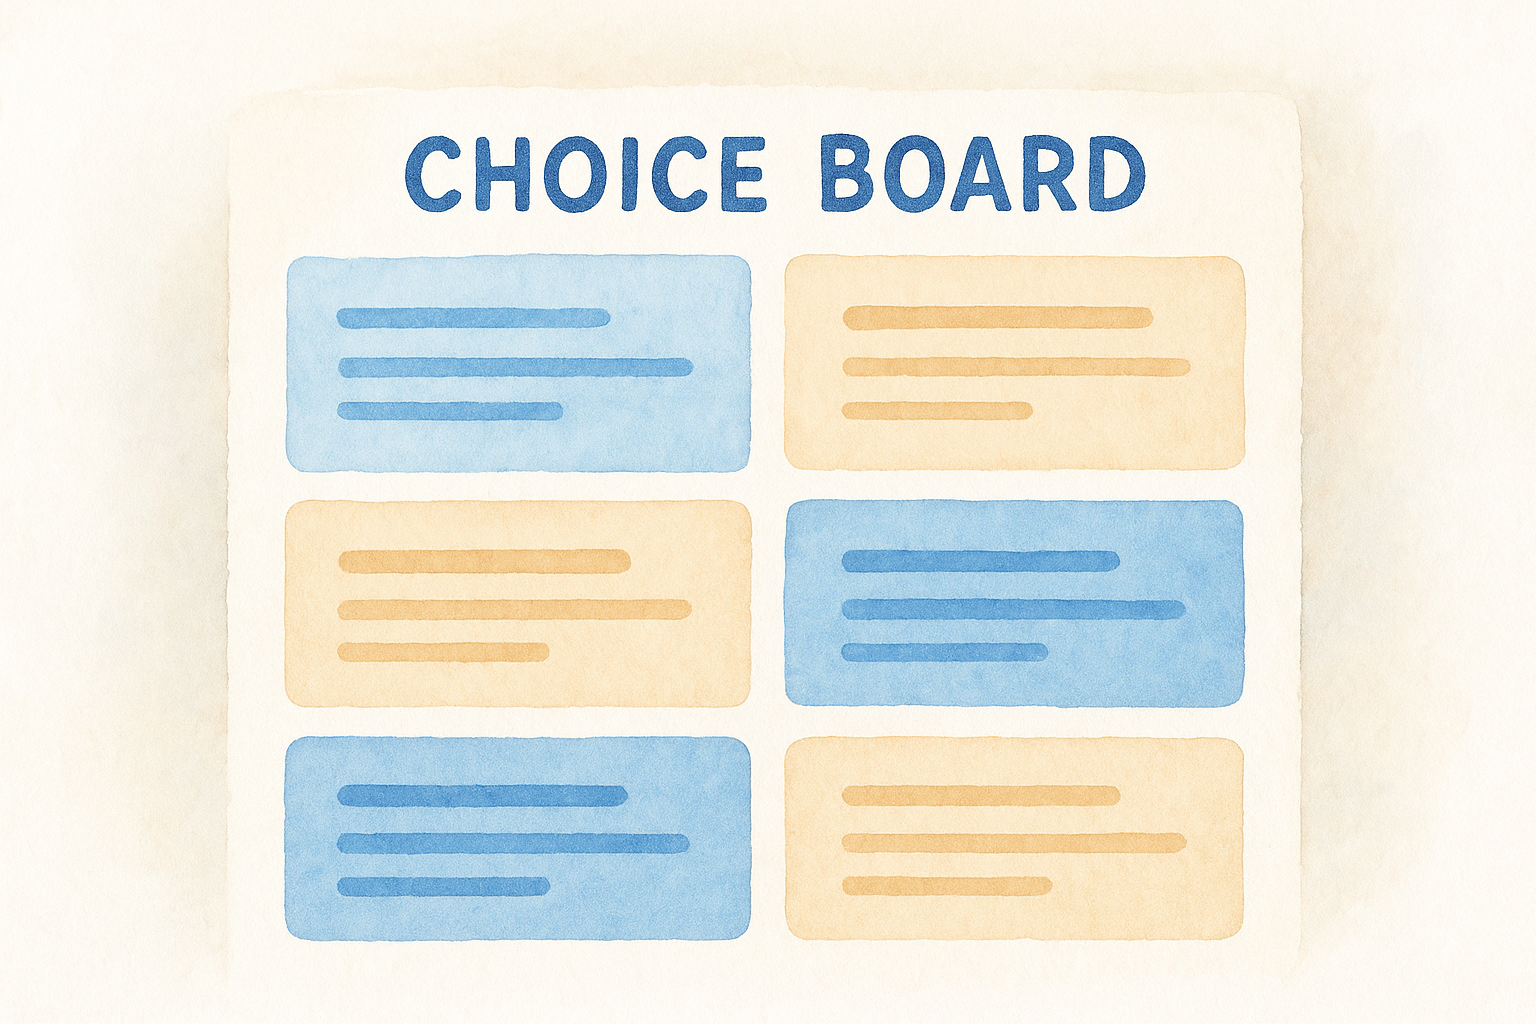
A choice board is exactly what it sounds like, a menu of activity options organized in a grid, where students select tasks that match their strengths, interests, or readiness levels. They’ve been around for years, but teachers keep coming back to them because they work without adding hours to your planning time. When designed well, a choice board can differentiate content, process, and product all within one assignment.
Here at The Cautiously Optimistic Teacher, we build resources that help educators teach smarter, not harder, and choice boards fit that mission perfectly. This guide walks you through everything you need to actually use them: what they are, why they’re effective, how to build one from scratch, and real classroom examples you can adapt. Whether you’re brand new to differentiated instruction or looking to sharpen a strategy you already use, you’ll leave with a clear plan and ready-to-use templates to bring choice boards into your classroom this week.
Why choice boards work for differentiation
Choice boards for differentiated instruction aren’t just a trend teachers cycle through. They’re grounded in how students actually process and retain information. When you give students the ability to choose their tasks, you remove a significant barrier: the frustration of being asked to demonstrate knowledge in a way that doesn’t suit how they think. Every student in your room gets to engage with the same core content through a path that feels manageable to them.
Students stay engaged when they have a say
Student engagement drops sharply when learners feel like passive recipients of instruction. When you hand a student a choice board, you flip that dynamic. They become active participants making decisions about their own learning, which builds real investment in the outcome. Research grounded in self-determination theory, developed by psychologists Edward Deci and Richard Ryan, consistently shows that autonomy is a core driver of intrinsic motivation. Students who feel some control over their learning process put in more effort, stay on task longer, and build stronger self-regulation habits over time.
When students choose how to show what they know, they’re more likely to show you what they actually know.
Beyond motivation, choice also lowers anxiety. Students who struggle with reading, for example, aren’t forced to demonstrate understanding through a written response if a visual or verbal option is available. You’re not lowering the bar; you’re widening the door.
They address multiple learning differences at once
One of the biggest design advantages of a choice board is that it handles several learner needs simultaneously without requiring you to build separate lesson tracks. You can include tasks that vary in complexity, format, and required skill all within a single grid. A student with strong verbal reasoning might choose a debate-style response, while a student who processes information visually might opt for an annotated diagram. Both students are working toward the same learning target.
This structure also supports students with IEPs and 504 plans naturally. When flexibility is built into the assignment itself, you reduce the visibility of accommodations and give every student an equal sense of participation without drawing attention to individual differences.
The research behind student choice
The connection between student choice and academic outcomes is well documented. Studies in educational psychology consistently show that offering students choices in assignments links to increased task completion, higher quality work, and better retention of content. When students invest in the format of their output, they tend to engage more deeply with the underlying material rather than simply completing a task to check a box.
You don’t need to redesign your entire curriculum to see these effects. Even limited choice, selecting among three options rather than completing one assigned task, produces measurable differences in motivation and output quality. That’s what makes choice boards such a practical classroom tool: they offer structured autonomy, which means students have real freedom within a framework you design and control.
What makes a strong choice board
Not every choice board delivers results. The difference between one that genuinely engages students and one that creates confusion usually comes down to intentional design. Before you start filling in boxes, you need to understand what separates a strong choice board from a busy-looking worksheet. A well-built choice board gives students real, meaningful options while ensuring every task points back to the same learning standard.
Tasks that vary in format but match in rigor
The most common mistake teachers make when building choice boards for differentiated instruction is offering tasks that look different but aren’t actually comparable in depth or challenge. A student who picks "draw a picture" shouldn’t be doing significantly less thinking than a student who picks "write a paragraph." Every task on your board should require students to apply, analyze, or create, not just recall a definition or copy information.
Grounding your tasks in Bloom’s Taxonomy helps here. Aim to spread tasks across multiple cognitive levels, with a few scaffolded options for students who need support and several higher-order options for students ready to go deeper. That range creates natural differentiation without making anyone feel singled out.
The tasks should feel like different doors into the same room, not different rooms entirely.
A layout students can actually navigate
Your choice board falls apart the moment students need you to explain how it works. Clear, specific instructions written directly on the board keep the activity running without constant hand-holding. Use student-friendly language, avoid vague directives like "respond creatively," and be explicit about what each task requires in terms of length, format, and expected output.
Visual organization matters as much as the content itself. A clean grid, consistent formatting, and a manageable number of options, usually six to nine tasks, keeps students from feeling overwhelmed when they sit down to choose. Fewer, better-designed options consistently outperform long lists that create decision fatigue. Give students a real choice, but keep the structure focused so they can get to work quickly.
How to design a standards-aligned choice board
Every strong choice board starts in the same place: your learning standard. Before you type a single task into a grid, get clear on what you need students to know and be able to do by the end of the assignment. That clarity is what keeps your choice board from turning into a collection of loosely related activities. Alignment to a specific standard is what transforms a fun-looking grid into a genuine instructional tool.
Start with one standard, not several
Trying to cover multiple standards in a single choice board spreads the work too thin and makes it harder to assess mastery. Pick one standard and build every task around it. When you constrain your focus, you actually create more room for task variety because you’re not trying to hit multiple targets at once. Students engage more deeply with a single well-defined concept than with a broad range of loosely connected ideas.
One standard, multiple entry points: that’s the design logic that makes choice boards for differentiated instruction actually work.
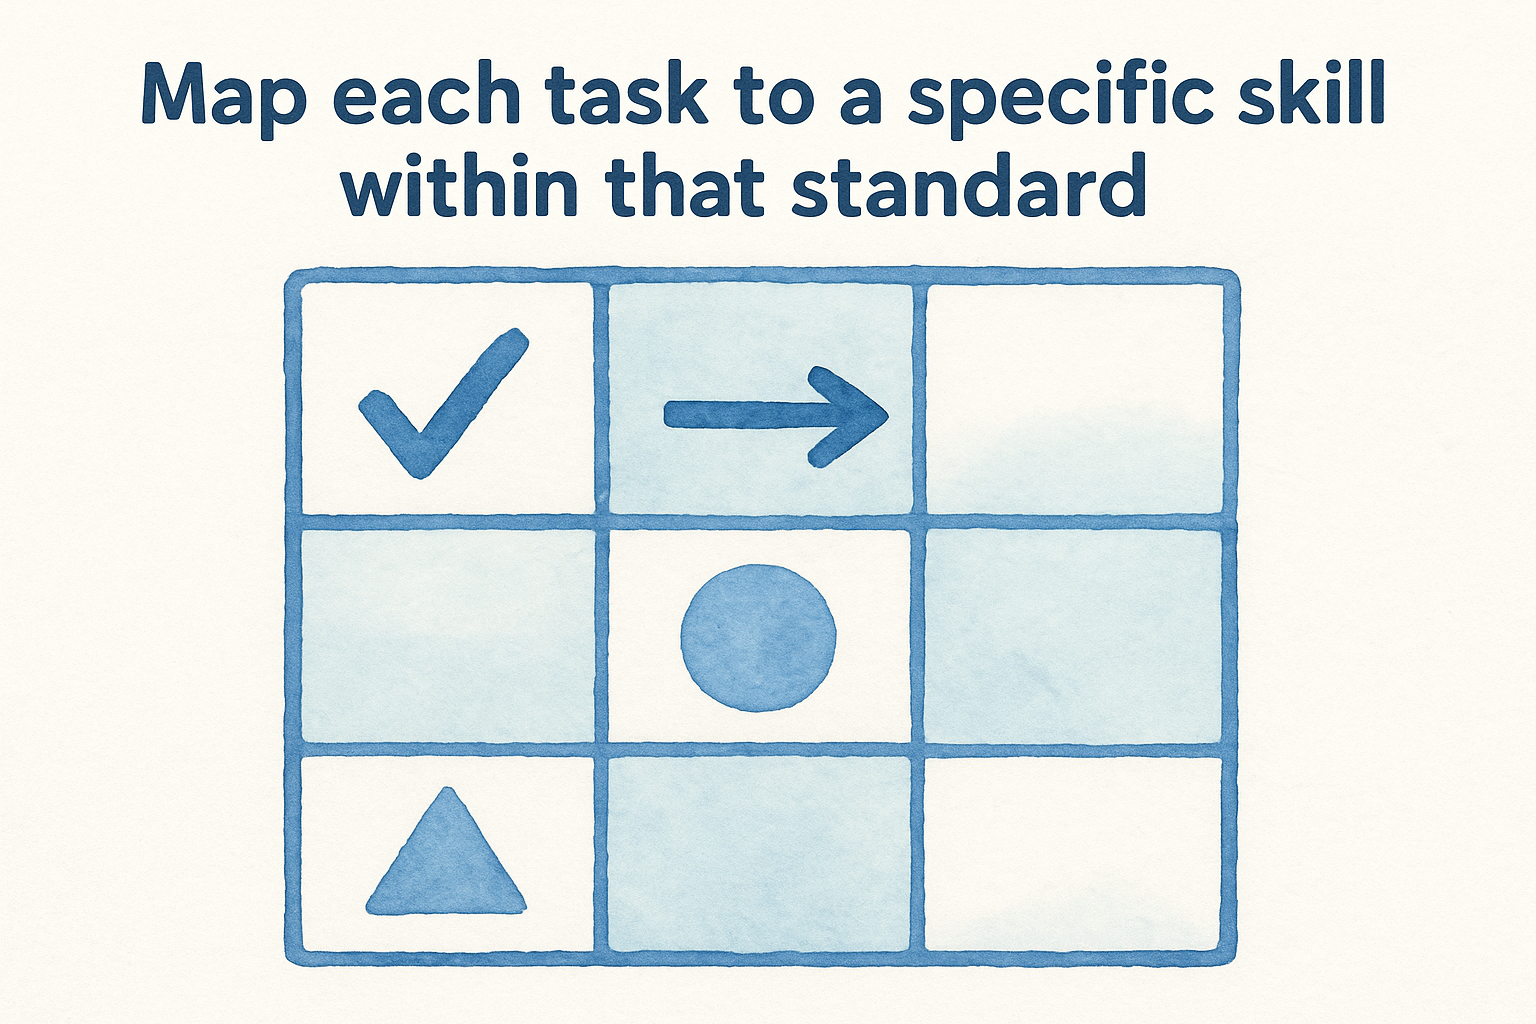
Map each task to a specific skill within that standard
Once you have your standard, break it into the component skills it requires. A reading standard, for example, might involve identifying theme, analyzing character motivation, and drawing inferences from text evidence. Each component becomes a potential task category. This mapping ensures that every box on your grid serves a clear purpose and that students can’t accidentally skip the skills your standard demands.
Here’s a simple planning structure to follow before you open any template:
- Write the standard in your own words
- List 3-4 skills that standard requires
- Draft 2-3 task formats per skill
- Select the strongest combination for your grid
Review the board as a complete set
After your tasks are drafted, read through the full board as if you’re a student choosing for the first time. Ask yourself whether each option genuinely builds the same understanding through a different format. If one task feels noticeably easier or more superficial than the others, revise it before you print anything. A consistent level of rigor across all options is what makes your choice board defensible when it comes time to grade.
Sharing a draft with a colleague before you launch it in class also helps. A fresh set of eyes will catch unclear task instructions or unintentional gaps that you’re too close to the material to notice on your own.
How to run choice boards in class
A well-designed board means nothing if students don’t know how to use it. The first time you introduce choice boards for differentiated instruction, plan a brief launch routine that walks students through the structure before they make any selections. Show them a sample completed task, clarify your expectations for quality, and demonstrate what a strong choice looks like. Spending five minutes upfront saves you from answering the same questions twenty times once work time begins.
Set clear parameters before students choose
Give students a specific review window before they commit to a task. Rushing the selection process leads to off-task behavior once students realize they picked something they don’t fully understand. You can also limit how many students choose the same task if group work is involved, which prevents everyone from gravitating toward the easiest-looking option.
The moment students sit down with their chosen task, your job shifts from instructor to facilitator.
A simple sign-up method, like placing a sticky note on the board or doing a quick show of hands, keeps the process organized without turning it into a production. Post your completion criteria somewhere visible so students know upfront what "done" actually looks like. Clear expectations at this stage reduce the number of times you have to stop the class mid-work to clarify directions.
Track progress and hold students accountable
Circulate regularly and check in briefly with each student during independent work time. You’re not there to redirect their choices; you’re there to confirm students understand what their task requires and that they’re making real progress. If a student selected something clearly beyond their current ability, treat it as a scaffolding opportunity rather than a mistake, and have a simplified version of the same task ready to offer quietly.
After students submit, ask them to write two sentences about why they chose their task and what they learned through it. This reflection builds metacognitive awareness and gives you concrete data about which tasks are resonating. Patterns show up quickly, and spotting a task that nobody ever picks tells you it needs to be revised before your next run.
Choice board ideas and examples by subject
Seeing subject-specific examples is often what helps choice boards for differentiated instruction click from an abstract concept into something you can actually build this week. The tasks below aren’t meant to be copied word-for-word; they’re starting points you can adapt to your specific standard, grade level, and students.
ELA and reading
ELA choice boards work particularly well because the subject naturally supports multiple modes of expression. When your standard involves analyzing a text, students can demonstrate that analysis through very different formats without compromising rigor.
Here are six task options you can mix and match for a reading-focused board:
- Write a letter from one character to another explaining a key decision
- Create an annotated timeline of plot events with explanations
- Record a one-minute verbal summary of a theme and its textual evidence
- Draw and label a scene that shows character development
- Write a compare-contrast paragraph between two characters
- Design a "wanted poster" for the antagonist using evidence from the text
Any of these tasks can be adjusted up or down in complexity by changing the amount of required evidence or the expected response length.
Math and science
Math and science choice boards benefit from mixing procedural tasks with conceptual ones. Students who grasp the process quickly can move toward explanation or application, while students still building fluency can work through structured practice.
Consider these options for a math or science unit:
- Solve five problems and annotate each step with your reasoning
- Create a real-world word problem that uses the target concept
- Build a visual model or diagram that explains how the concept works
- Write a short explanation of a common mistake and how to correct it
- Design a flowchart that walks a peer through the process step-by-step
- Compare two methods for solving the same problem and explain which is more efficient
Social studies and history
Social studies boards give you natural opportunities for perspective-taking and analysis. A unit on a historical event might include tasks like writing a primary source response, creating a cause-and-effect chart, or drafting a short speech from the viewpoint of a historical figure. These formats push students to engage with content rather than simply recall facts.
Final thoughts
Choice boards for differentiated instruction give you a practical way to meet students where they are without rebuilding your entire curriculum. When you design them around a single clear standard, offer tasks with genuine variety, and spend a few minutes walking students through the structure on day one, they run themselves. The result is a classroom where students are working harder because they chose to, not because you forced a format on them.
You don’t need a perfect board on your first attempt. Start with one unit, gather feedback from your students, and revise as you go. The teachers who use choice boards most effectively treat them as living documents that improve with each run. If you’re looking for more strategies to reach every learner in your classroom, explore the differentiated instruction tools and resources at The Cautiously Optimistic Teacher to keep building your toolkit.