Backward Design Approach: Outcomes-First Teaching In 3 Steps
You spent hours building a unit from scratch. The activities were creative, the readings were solid, and the slides looked great. But when it came time to assess your students, you realized the test didn’t quite match what you taught, and what you taught didn’t quite connect to what students actually needed to learn. That disconnect isn’t a reflection of effort or skill. It’s a planning sequence problem, and the backward design approach fixes it by flipping the entire process on its head.
Instead of starting with activities and hoping they lead somewhere meaningful, backward design starts with the end. You identify the desired learning outcomes first, then build assessments and instruction around them. It’s a framework developed by Grant Wiggins and Jay McTighe in their book Understanding by Design, and it has fundamentally changed how effective curriculum gets built. The core idea is simple: when you know where students need to arrive, every instructional choice becomes more intentional.
Here at The Cautiously Optimistic Teacher, we build resources, from differentiated unit plans to AI-powered lesson tools, with this kind of intentional planning baked in. This article breaks down the backward design framework into its three concrete stages, explains how each one works in practice, and shows you exactly how it differs from traditional curriculum planning. Whether you’re designing a single lesson or mapping out an entire semester, you’ll walk away with a clear, usable understanding of outcomes-first teaching.
Why the backward design approach works
The backward design approach works because it forces clarity before commitment. When you name what students should know, understand, and be able to do before you plan a single activity, every instructional choice that follows has a clear reference point. You’re not guessing whether a lesson is useful because you already know the target. That matters in a practical, immediate way: it keeps you from building units that feel busy but produce shallow learning, and it gives your planning a direction that traditional sequencing rarely provides from the start.
It aligns what you teach with what you test
One of the most common frustrations in teaching is the gap between instruction and assessment. You teach one thing, test another, and then wonder why the results don’t reflect the effort in the room. The backward design approach eliminates that problem structurally by requiring you to design your assessment before you plan your lessons. When you know what evidence you need to collect, you can build instruction that actually produces it.
Designing your assessment first means your lessons have a clear destination before a single activity is ever planned.
Alignment between outcomes, assessment, and instruction is one of the strongest predictors of student achievement. When students can see a direct connection between what they’re learning and how they’ll be evaluated, engagement increases and confusion decreases. The three stages of backward design build that connection intentionally, not by accident. You stop treating the test as a separate event and start treating it as part of the learning architecture.
It shifts the focus from coverage to understanding
Traditional planning often defaults to content coverage as the primary goal. You move through chapters, check off standards, and hope understanding follows. Backward design flips that assumption entirely. The question isn’t "What will I teach?" but "What will students understand and be able to do when this unit is over?" That shift in framing changes how you evaluate every instructional decision you make.
With understanding as the goal, you stop asking whether an activity is fun or interesting in isolation and start asking whether it moves students toward the outcome you’ve already identified. That doesn’t mean activities can’t be engaging. Engagement serves a purpose rather than filling time when you’re working backward from a clear outcome. A discussion, a simulation, a close reading, a project – all of these become deliberate tools rather than features, and you choose them based on what students need to get where they’re going.
It gives students a clearer learning path
Students learn better when they understand what they’re working toward and why they’re working toward it. Backward design creates the conditions for that transparency because the outcomes drive everything that follows. When you’re clear on the destination, you can share it with students directly. You can post the learning goals, explain how the assessment connects to them, and frame each lesson in terms of where it fits in the larger arc of the unit.
Transparent goal-setting reduces cognitive load during instruction. Students aren’t spending mental energy trying to figure out what’s expected of them. They can direct that energy toward the actual learning. Research on metacognition consistently shows that students who understand what they’re trying to learn outperform those who don’t have that clarity. Backward design makes intentional transparency the default rather than an afterthought you add at the end of your planning process.
Backward design vs traditional planning
Most teachers learn to plan in one direction: start with content, move through activities, and assess at the end. That sequence feels logical because it mirrors how we often experience time. You gather materials, teach them, and then find out what students absorbed. The problem is that it treats assessment as a conclusion rather than a guide, which means the test often measures something different from what instruction actually built.
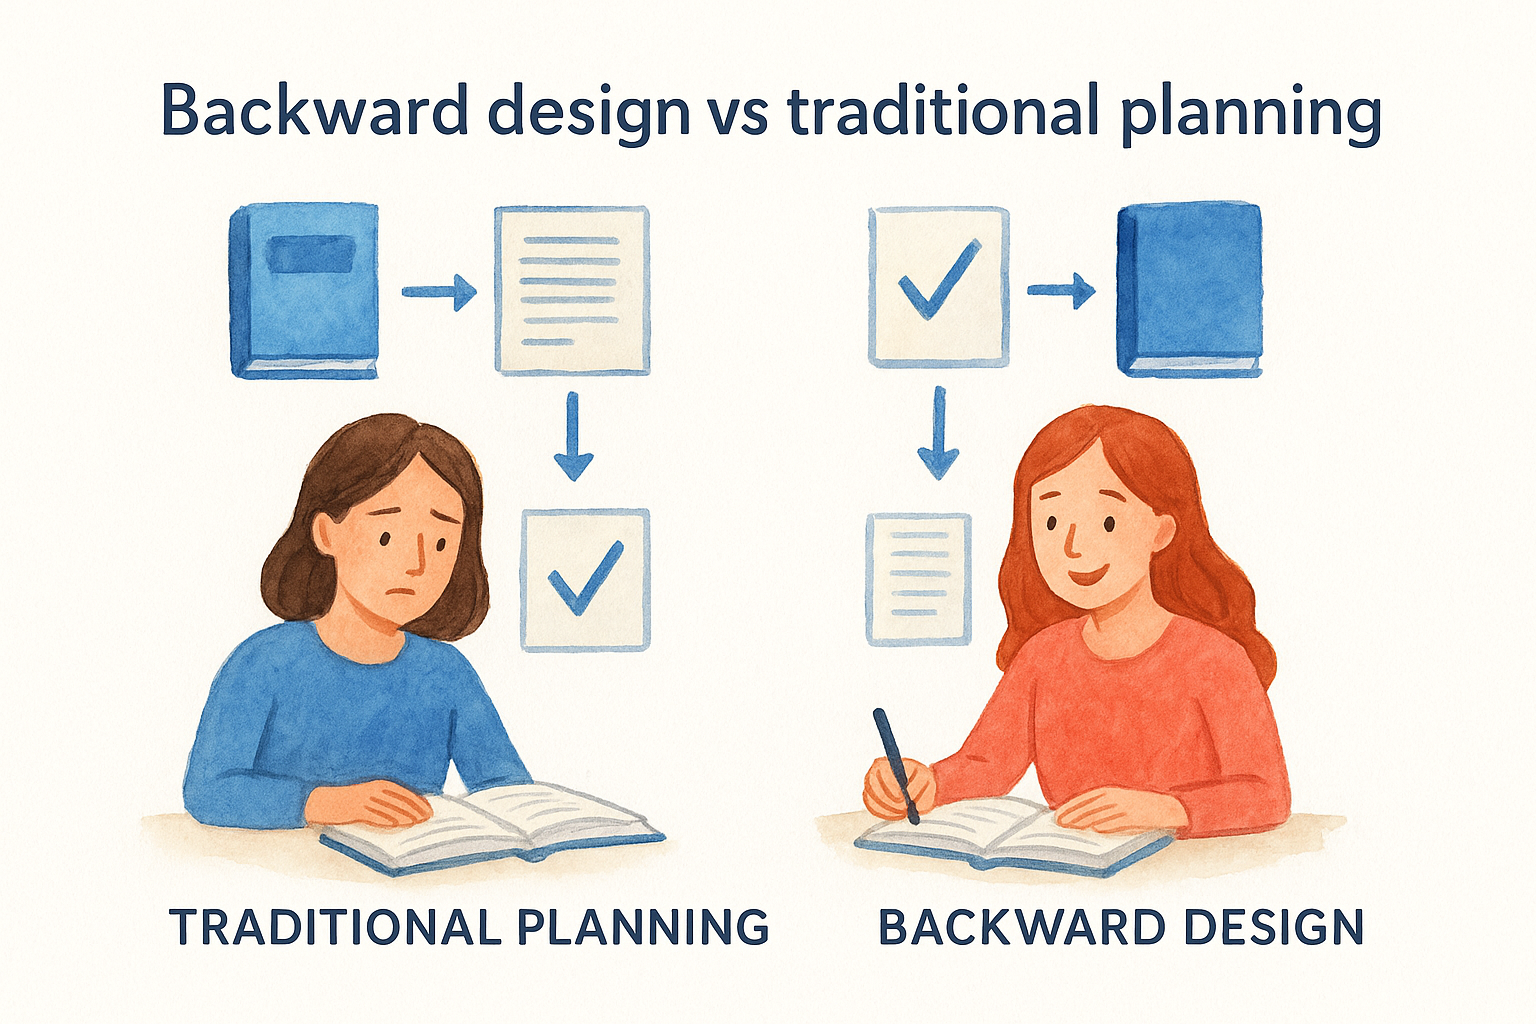
How traditional planning works
Traditional planning typically starts with a textbook chapter, a set of standards, or a general topic. You decide what to cover, build lessons around that content, and construct an assessment at the end to see what stuck. This approach puts content delivery at the center of the process, and it often produces units that are comprehensive in coverage but inconsistent in depth. Students move through a lot of material, but they don’t always develop the transferable understanding that the standards actually call for.
The biggest structural flaw in traditional planning is that the assessment is disconnected from the initial design decisions. Because it comes last, it reflects what you happened to teach rather than what students were always supposed to learn. That gap between intent and outcome is where student confusion lives, and it’s also where teacher frustration tends to build.
Where backward design changes the process
The backward design approach reverses the sequence at every stage. You start with the outcome, then build the evidence, then plan the instruction. That order matters because each decision you make is anchored to something concrete rather than to a general sense of what feels relevant. You’re not asking "what should I cover?" You’re asking "what should students be able to do by the end, and how will I know they can do it?"
Backward design treats your assessment as a design tool, not a finishing step, which changes every planning decision that comes before it.
This shift also changes how you evaluate your own lessons. In traditional planning, a lesson is successful if it covers the material and keeps students engaged. In backward design, a lesson is successful if it moves students closer to the outcome you identified at the start. That’s a meaningful distinction because it gives you a specific, consistent standard to measure your instructional choices against, rather than relying on feel or pace to guide your decisions.
Step 1: Identify desired results
The first stage of the backward design approach asks you to answer one foundational question: what should students know, understand, and be able to do by the end of this unit? This sounds straightforward, but it requires a level of specificity that most traditional planning skips entirely. You’re not listing topics to cover. You’re naming the outcomes that matter most and committing to them before you design a single activity or assessment.
Distinguish between knowledge, understanding, and transfer
Wiggins and McTighe organize desired results into three layers: what students should know (facts, vocabulary, procedures), what they should understand (the big ideas that outlast the unit), and what they should be able to transfer to a new context. Transfer is where deep learning lives. When you plan with all three layers in mind, your unit builds toward something students can actually use beyond the final test. Most teachers default to the knowledge layer because it maps directly to textbook content, but the understanding and transfer layers are where your outcomes gain real instructional weight.
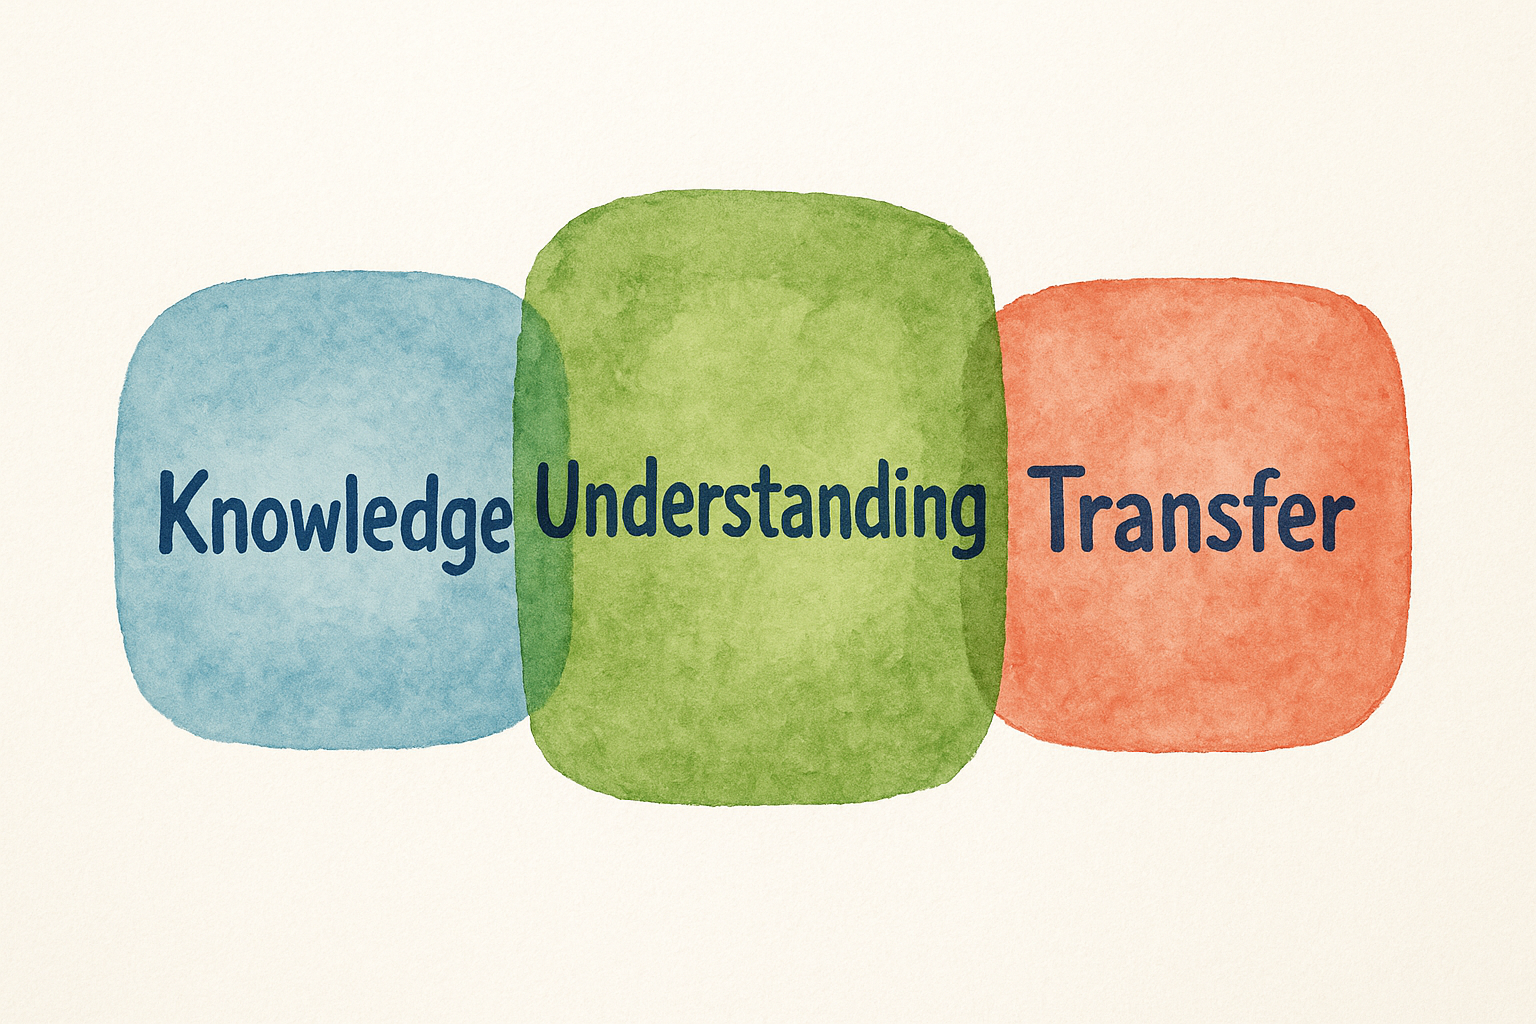
The goal isn’t to teach students facts they can recite. It’s to build understanding they can apply when the context changes.
Naming all three layers forces you to ask what the point of the content actually is. Why does this material matter? What would a student who truly understood this unit be able to do that they couldn’t before? Those questions are harder to answer than "what chapters will I cover?" but they’re also the questions that produce purposeful instruction rather than coverage-driven units that move fast and leave gaps.
Connect your outcomes to your standards
Your desired results need to connect directly to the standards your students are required to meet, whether those are Common Core, state frameworks, or district curriculum requirements. Standards give you the external benchmark, but your job in this stage is to translate those standards into concrete, student-centered outcome statements that describe what mastery looks like in your specific unit. Read your relevant standards carefully and identify which ones are truly essential versus which ones play a supporting role.
Not every standard carries equal weight, and treating them all as equally important spreads your instruction too thin. Prioritizing the most essential standards keeps your unit focused on what matters most and gives your assessments a clear, specific target. When your outcomes are precise, standards-aligned, and organized by depth, the rest of your backward design planning becomes significantly easier to execute at every stage.
How to write strong learning outcomes
Strong learning outcomes don’t describe what you plan to cover. They describe what students will be able to do with what they’ve learned. That distinction matters because vague outcomes like "students will understand the Civil War" give you nothing to measure. A strong outcome names a specific, observable behavior that tells you exactly what mastery looks like when the unit is complete.
Use action verbs to define measurable outcomes
The clearest way to sharpen your outcomes is to start each one with a specific action verb that names what students will do with the content. Bloom’s Taxonomy gives you a practical framework for this. Instead of writing "students will know the causes of the Civil War," you write "students will analyze how economic and political tensions contributed to sectional conflict." That verb, analyze, tells you what to design for and what to assess. Verbs like evaluate, construct, compare, justify, and synthesize point directly toward higher-order thinking and make your outcomes immediately more useful during the backward design approach.
Here are examples of weak outcomes rewritten with stronger action verbs:
| Weak Outcome | Strong Outcome |
|---|---|
| Understand theme | Explain how theme develops across a text |
| Know the water cycle | Diagram and label each stage of the water cycle |
| Learn about persuasion | Construct an argument using evidence and counterarguments |
Your action verb is the hinge between your outcome and your assessment. Choose it before you plan anything else.
Limit each outcome to one clear skill or idea
Trying to pack multiple skills into a single outcome makes both teaching and assessment harder than they need to be. When an outcome reads "students will analyze characters and write a structured essay," you’ve created two targets that pull instruction in different directions. Separate those into two distinct outcomes so each one can be taught, practiced, and assessed on its own terms. That separation also makes it easier to identify gaps when students struggle, because you can pinpoint exactly which outcome broke down rather than guessing where the confusion started.
Write your outcomes in plain, student-facing language wherever possible. If a student can’t read the outcome and understand what they’re working toward, the outcome is too abstract to drive instruction. Clear language makes your planning tighter and gives students a reference point they can actually use throughout the unit.
Step 2: Determine acceptable evidence
Once you’ve named your desired results, the next question is how you’ll know students have actually reached them. Step 2 of the backward design approach asks you to design your assessments before you plan a single lesson. That sequence is what separates backward design from traditional planning. You’re not creating a test because the unit is finished. You’re building evidence-collection tools that tell you whether your outcomes were met, and you’re doing it while those outcomes are still fresh in your planning process.
Choose the right type of assessment
Not every outcome calls for the same type of evidence. Factual knowledge outcomes are well-served by quizzes, vocabulary checks, or short-answer responses. Understanding and transfer outcomes need something more complex: an essay, a performance task, a project, a Socratic seminar, or a real-world application that requires students to use what they’ve learned in a new context. Matching your evidence type to your outcome level is what makes your assessment meaningful rather than just convenient.
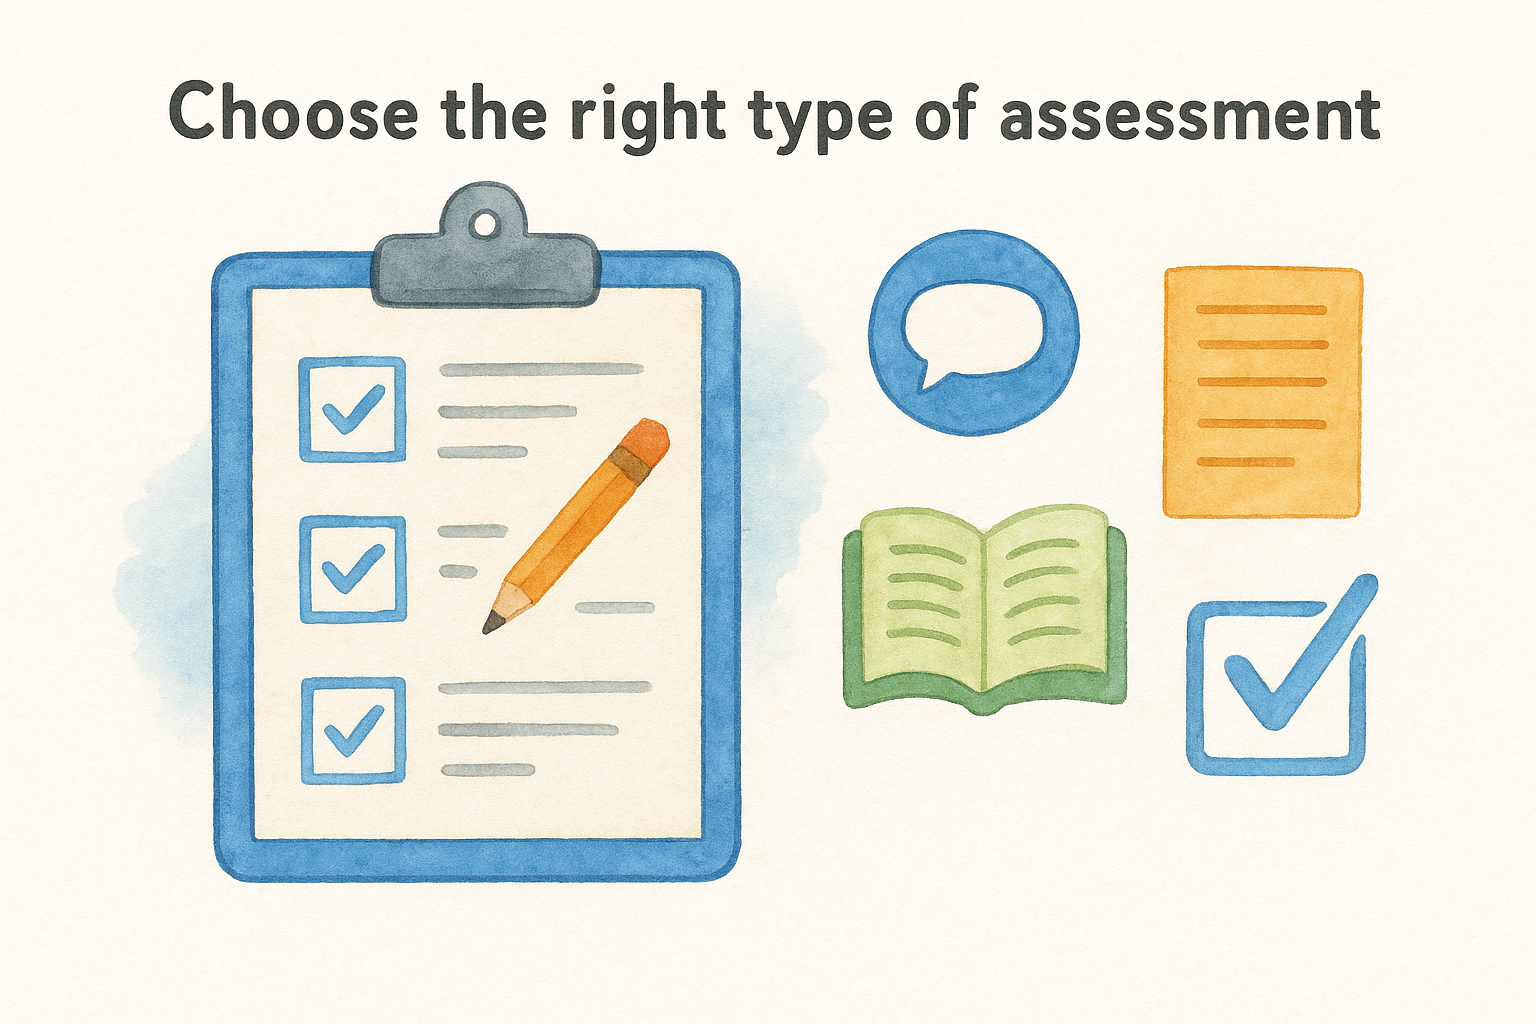
The best assessments don’t just measure learning after it happens. They give students a chance to demonstrate understanding in a way that reflects the actual goal of the unit.
Wiggins and McTighe describe a spectrum of assessment types in Understanding by Design, ranging from informal checks like exit tickets to formal performance tasks. Using a mix of both throughout a unit gives you ongoing data without waiting until the final exam to find out where students stand. Plan these checkpoints early so your instruction can respond to what the evidence shows, not just deliver content on a set schedule.
Build assessments that match your outcomes
When you write your assessments, hold them directly against your outcome statements and ask whether completing this task would require a student to demonstrate the skill or understanding you named. If the answer is no, the assessment and the outcome are misaligned, and that gap will show up in your results whether you notice it during planning or not. This check takes five minutes and catches problems before they become unit-wide issues.
Specificity in your outcomes makes assessment design significantly easier because you already know what you’re looking for. If your outcome says students will construct an evidence-based argument, your assessment should require exactly that. The criteria you use to evaluate student work should map directly back to the outcome language you wrote in Step 1, which also makes building a rubric straightforward rather than something you assemble at the last minute.
Step 3: Plan learning experiences and instruction
Step 3 is where most teachers feel most comfortable, and it’s also where the backward design approach produces its biggest payoff. Because you’ve already named your outcomes and designed your assessments, you’re not planning activities in a vacuum. Every instructional choice you make in this stage serves a specific, documented purpose that connects directly to where students need to arrive by the end of the unit. You’re building the path, not exploring one.
Choose activities that build toward your outcome
Your activities, readings, discussions, and practice tasks need to do one thing above all else: move students closer to demonstrating the evidence you defined in Step 2. That means you evaluate each potential lesson element by asking whether it builds the skill or understanding your assessment requires. If an activity doesn’t connect to your outcome, it doesn’t belong in the unit, regardless of how engaging it might be on its own.
Every activity you cut that doesn’t serve your outcome creates space for one that does.
When you select your learning experiences, think in terms of what students need to practice before they can perform. If your assessment asks students to write a structured argument, your instruction needs to include explicit practice with claim construction, evidence selection, and counterargument. If your outcome involves analyzing a primary source, students need scaffolded opportunities to do that before the formal task. Build in practice that mirrors the real cognitive demand of your assessment, not a watered-down version of it.
Sequence your instruction with the end in mind
Sequence matters as much as content selection. Starting with knowledge-building and moving progressively toward application and transfer gives students the foundation they need before they’re asked to perform at a higher level. Introduce key vocabulary and background knowledge early, then shift toward analysis, evaluation, and synthesis as the unit moves forward. That progression isn’t accidental in effective units; it’s a deliberate instructional arc shaped by the outcome you identified in Step 1.
Planning your sequence also means building in formative checkpoints along the way. These don’t need to be graded assessments. Exit tickets, quick writes, pair discussions, and low-stakes practice tasks all give you data about where students are before the summative assessment arrives. When your sequence is intentional and your checkpoints are built in, you have time to adjust instruction based on what students actually show you rather than guessing at the end.
How to check alignment in your unit plan
Once you’ve worked through all three stages, you need to verify that your outcomes, assessments, and instruction actually connect before you deliver the unit. Alignment doesn’t happen automatically just because you followed the backward design approach in order. It requires a deliberate check where you hold each stage against the others and confirm they all point to the same target. Skipping this step is where well-intentioned planning still produces misaligned units that leave students underprepared.
Use an alignment map
The most practical way to check alignment is to build a simple three-column chart that lists your outcome in the first column, your assessment evidence in the second, and your planned learning activities in the third. When you read across each row, ask whether the assessment actually requires the skill named in the outcome and whether the activities build directly toward that skill. Any row where you can’t draw a clear line between all three columns signals a gap you need to close before the unit begins.
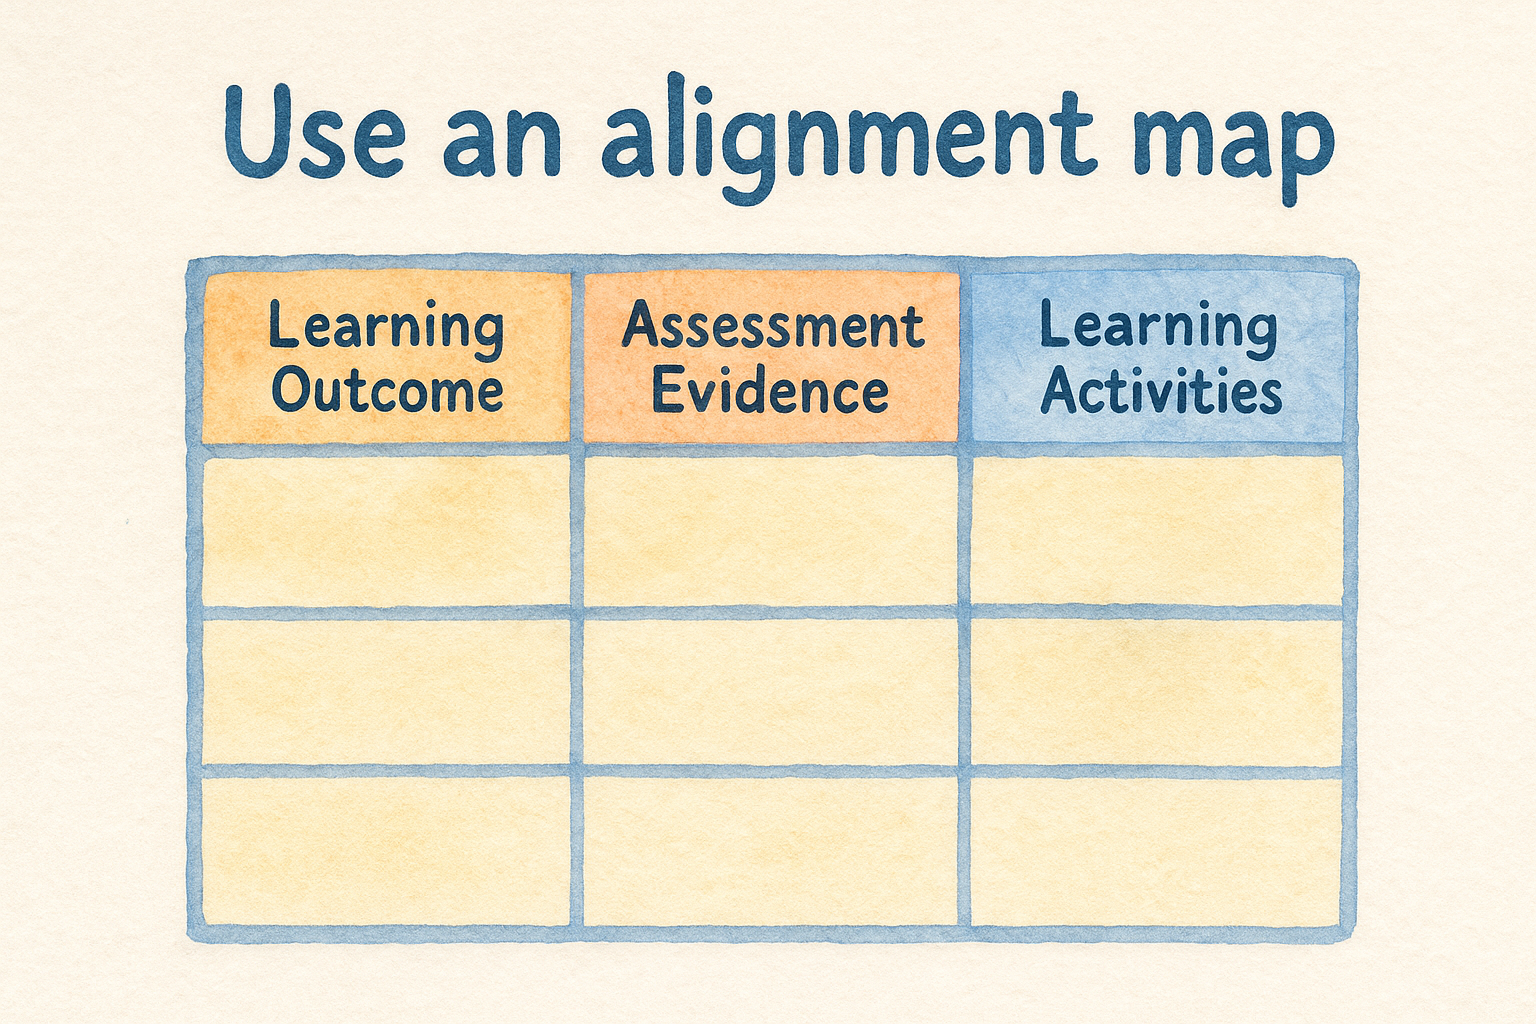
Here’s what that alignment map looks like in practice:
| Learning Outcome | Assessment Evidence | Learning Activities |
|---|---|---|
| Analyze how an author develops theme | Literary analysis paragraph | Close reading practice, annotation modeling |
| Construct an evidence-based argument | Persuasive essay | Claim writing, source evaluation, counterargument practice |
| Compare two historical perspectives | Document-based short response | Primary source analysis, discussion, graphic organizer |
If you can’t explain in one sentence how each activity prepares students for the assessment, the connection probably isn’t as strong as it needs to be.
Ask three alignment questions before you finalize
Before you lock in your unit, run it through three direct questions. First, does your assessment require students to demonstrate the exact skill or understanding your outcome names? Second, does your instruction give students enough practice with that skill before they perform it independently? Third, could a student complete all your planned activities and still arrive underprepared for the assessment? That third question is the most revealing because it forces you to identify gaps in your instructional sequence that content-coverage planning typically misses entirely.
Answering these questions honestly takes less than fifteen minutes, and it protects both you and your students from discovering misalignment on assessment day. Treat this alignment check as a required step in your planning process, not an optional review you get to when time allows.
Examples of backward design in real classrooms
Seeing the backward design approach applied in real units makes the framework concrete in a way that abstract descriptions can’t. The examples below show how teachers at different grade levels and in different subject areas use all three stages to build instruction that actually leads to the outcomes they care about.
English Language Arts: Argument Writing
A middle school ELA teacher starts a persuasion unit by naming the outcome first: students will construct a written argument that makes a clear claim, incorporates textual evidence, and addresses a counterargument. With that outcome locked in, she builds a five-paragraph argumentative essay rubric as her summative assessment before she plans a single lesson. The rubric criteria come directly from the outcome language, so there’s no gap between what she teaches and what she grades. Instruction then builds toward that essay through a deliberate sequence: direct instruction on claim writing, guided practice with evidence selection, modeled counterargument construction, and drafting workshops with peer feedback.
The rubric isn’t built at the end of the unit. It’s built right after the outcome, and it drives every lesson that follows.
Each lesson she plans gets checked against the essay requirements. If an activity doesn’t build a skill the rubric assesses, it doesn’t make the cut.
Science: Ecosystems and Food Webs
A seventh-grade science teacher designing an ecosystems unit starts by identifying the essential understanding he wants students to transfer: changes to one part of an ecosystem affect the entire system. His summative assessment asks students to analyze a case study about a real-world species removal and predict cascading effects using evidence from the unit. That task requires both content knowledge and application, so his instruction has to build both.
His learning sequence starts with vocabulary and food web diagrams to establish the foundational knowledge layer. From there, he moves students into guided analysis of simpler ecosystem scenarios before they tackle the independent case study. Formative checkpoints, including exit tickets after each major concept, tell him whether students are ready to move forward or need more time on a specific piece before the summative task arrives.
Social Studies: Primary Source Analysis
A high school history teacher identifies this outcome for a civil rights unit: students will evaluate how different groups framed the same event using primary source evidence. Her assessment is a document-based short response that asks students to compare two primary sources. Instruction includes scaffolded annotation practice, structured discussion, and a graphic organizer that mirrors the exact thinking the response requires.
Common pitfalls and how to fix them
Even teachers who understand the backward design approach well run into the same recurring problems. These mistakes don’t signal a lack of effort. They signal specific structural gaps in the planning process that are easy to overlook when you’re working fast. Knowing where the framework most often breaks down gives you a chance to catch and correct problems before they affect your students.
Writing outcomes that are too vague
Vague outcomes are the most common starting-point problem in backward design. When your outcome says something like "students will understand theme" or "students will learn about ecosystems," you’ve given yourself nothing concrete to assess. Those statements describe topics, not learning targets. You can’t build a meaningful assessment from them because they don’t name a specific, observable behavior.
An outcome you can’t assess is not an outcome. It’s a topic dressed up to look like a goal.
The fix is direct: return to your action verb and make it specific. Replace "understand" with "explain," "analyze," or "compare." Then ask whether a student could demonstrate that verb in a task you could score. If not, sharpen the language further until the target is unambiguous enough to drive your assessment design.
Treating assessment design as a finishing step
Some teachers work through Step 1 carefully, then jump straight into lesson planning before designing their assessment. That sequence breaks the framework because your instruction ends up shaped by intuition rather than by a concrete picture of the evidence you need to collect. You return to assessment design at the end of the unit and discover that your lessons built toward something slightly different from what you actually need to measure.
The correction is structural: treat Step 2 as a required checkpoint you complete before any lesson planning begins. Draft your summative assessment immediately after you finalize your outcomes. Even a rough task prompt or a preliminary rubric will give your instructional planning the anchor it needs to stay aligned throughout the unit.
Filling the unit with activities that don’t connect
A third common problem is over-planning activities. You find an engaging simulation, a compelling video, and a creative project, and you add all three because they feel relevant to the topic. But relevance to a topic is not the same as alignment to an outcome. Activities that don’t move students toward your specific assessment evidence consume time without producing measurable progress toward what actually matters.
When you catch this in your planning, cut or revise the activity rather than rationalizing the connection after the fact. Ask directly whether completing the activity builds a skill the assessment requires. If the answer needs significant justification, the activity belongs in a different unit.

Next steps to try this week
Pick one unit you’re currently planning or about to revise, and apply the backward design approach to it this week. Start small: write two or three outcome statements using specific action verbs, then draft a rough assessment prompt before you touch a single lesson plan. That sequence alone will show you how much clarity you gain when evidence comes before instruction, and it costs you less time than you’d expect.
From there, run the three-column alignment check from earlier in this article. Hold your outcomes, assessment, and planned activities side by side and look for gaps. Fixing one misalignment before a unit launches saves you more instructional time than any single activity could recover later. You don’t need to rebuild your entire curriculum at once; one unit at a time is enough.
For more tools and strategies to strengthen your planning and classroom practice, visit The Cautiously Optimistic Teacher and explore the resources available for educators.