Schoology Learning Management System: Features, Login, Tips
If your school uses the Schoology learning management system, you already know it’s more than just a place to post assignments. It’s where you manage coursework, communicate with students, and track progress across your classes, all from one platform. But whether you’re brand new to Schoology or you’ve been clicking around it for years, there’s a good chance you’re not using it to its full potential.
Here at The Cautiously Optimistic Teacher, we spend a lot of time thinking about tools that actually make teaching easier, not just shinier. Schoology fits that category when you know how to set it up right. From its grading features to its integration with Google Drive and other apps, there’s real functionality worth exploring beyond the basics.
This article breaks down what Schoology is, how to log in and navigate the platform, its standout features for K-12 classrooms, and practical tips to help you get more out of it. Whether you’re trying to figure out the mobile app or looking for ways to streamline your workflow, you’ll find what you need below.
What Schoology is and who it serves
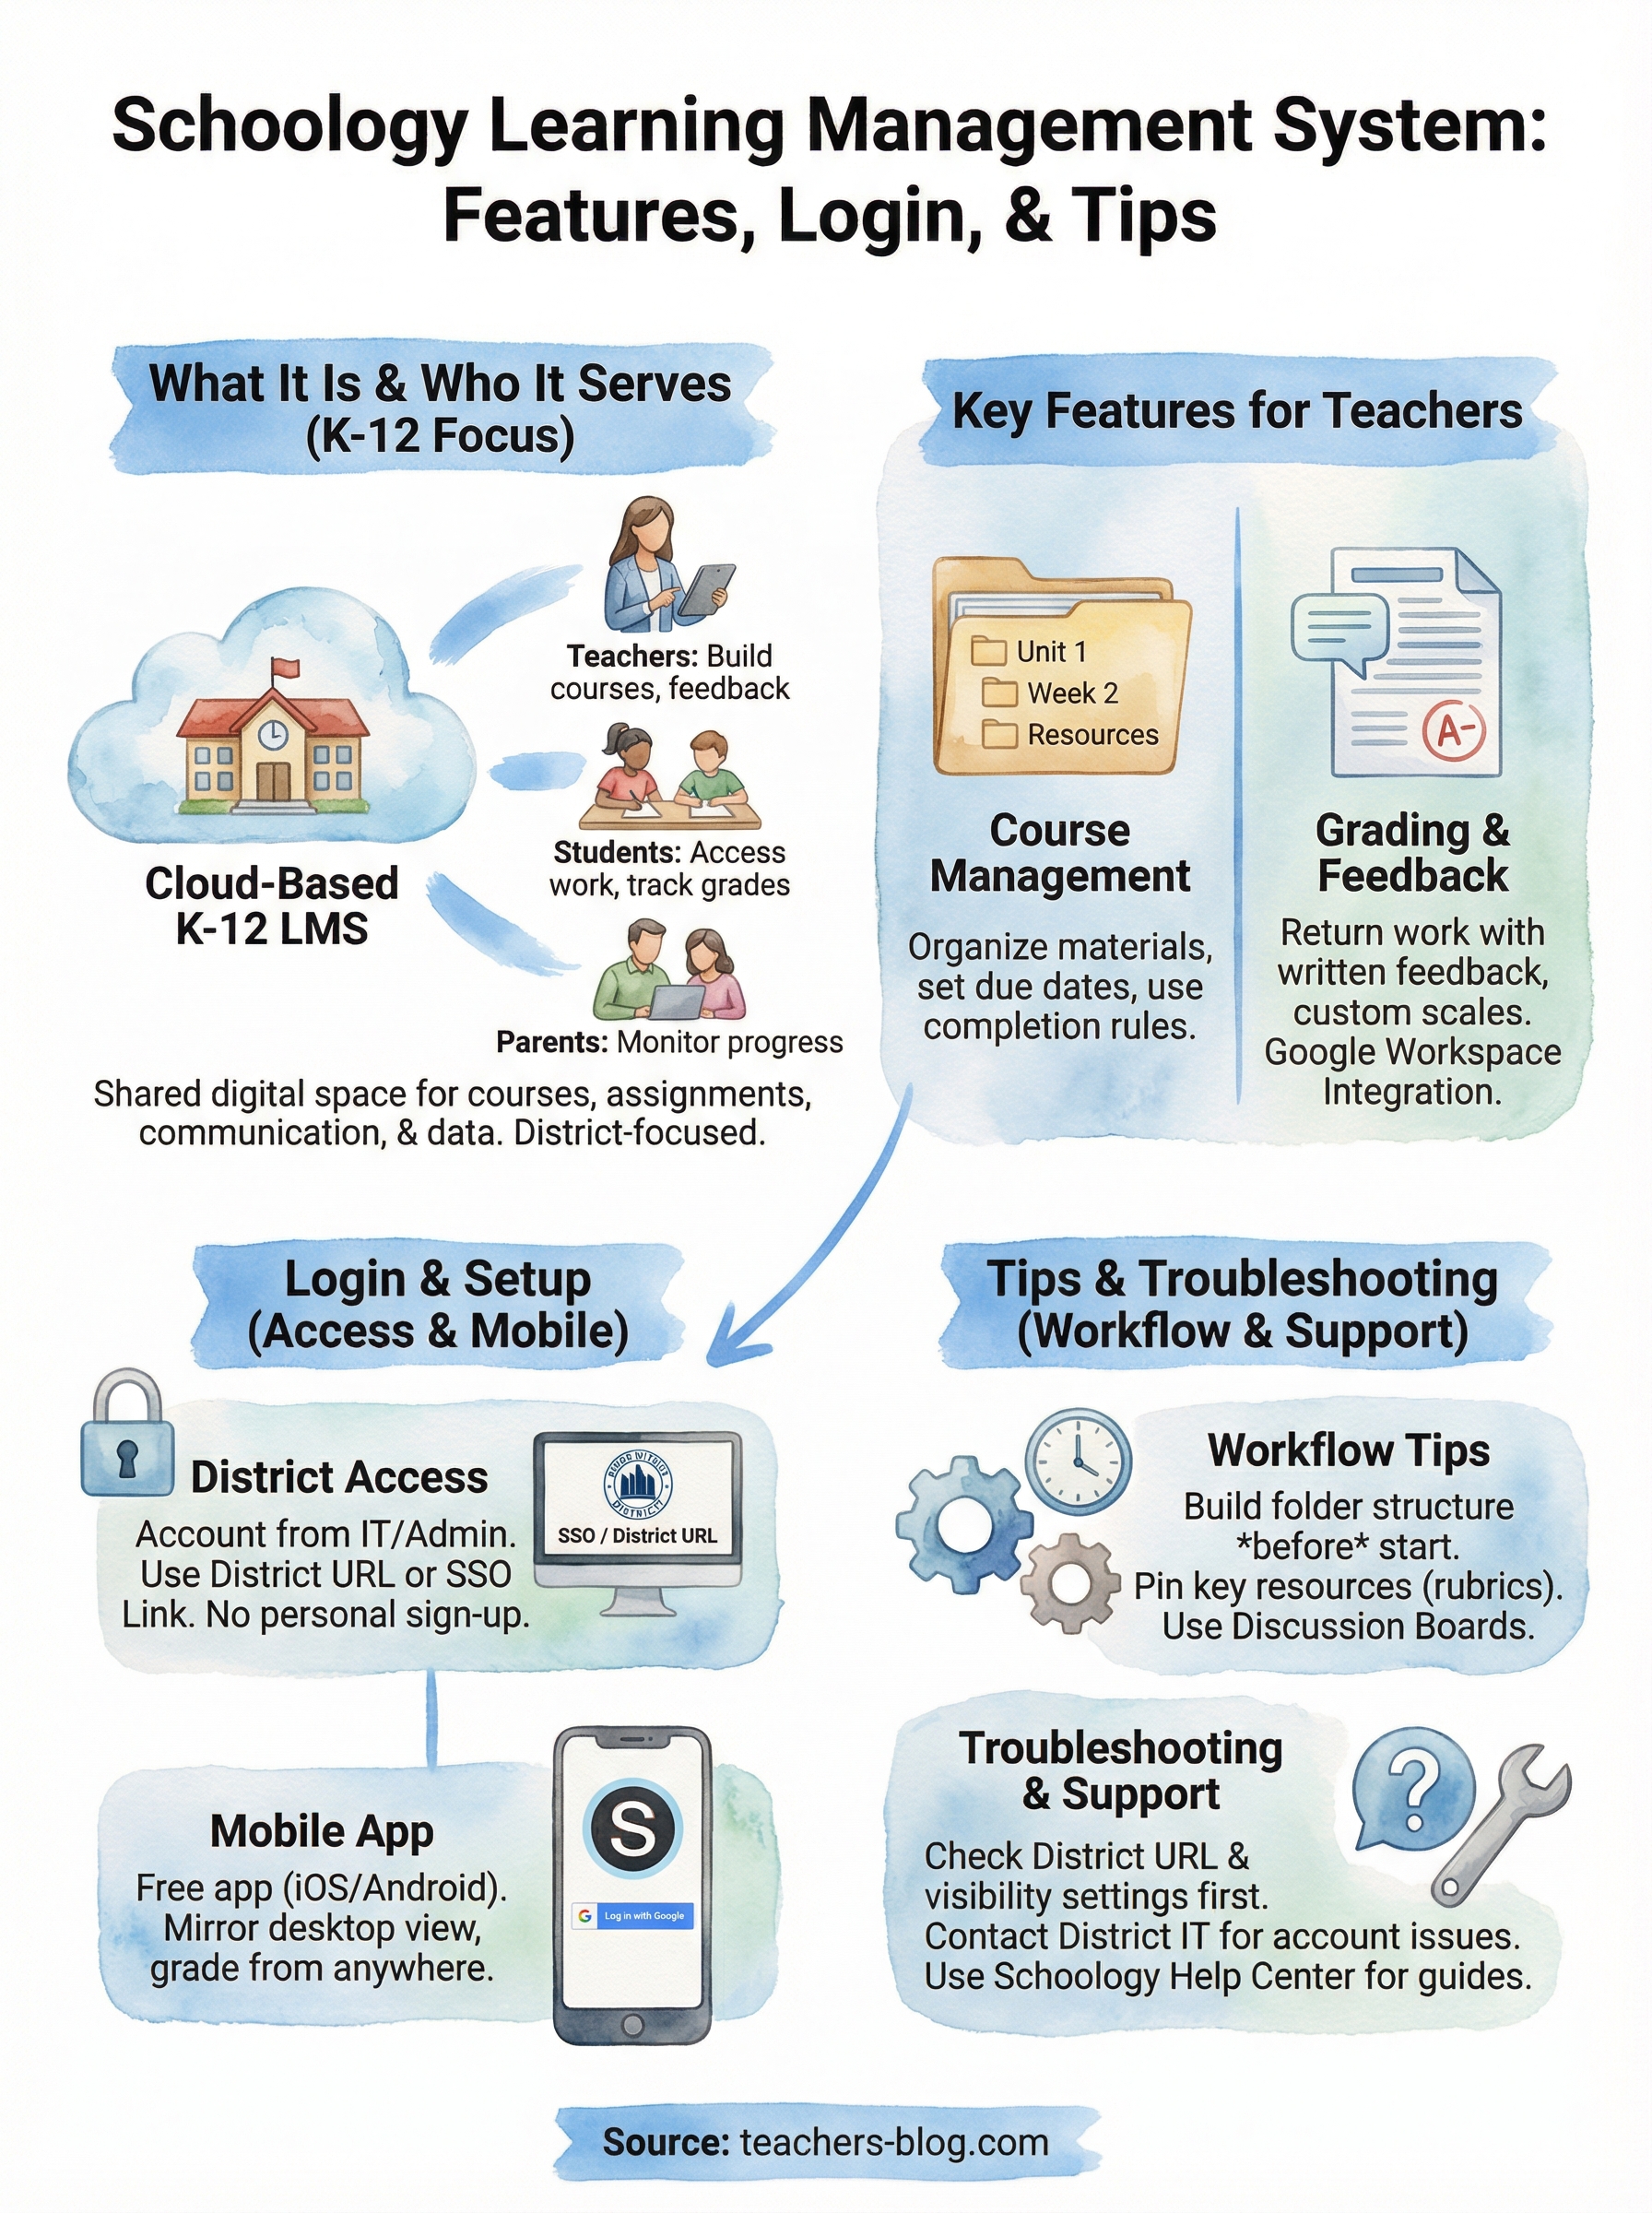
Schoology is a cloud-based learning management system built specifically for K-12 schools and districts. It gives teachers, students, and administrators a shared digital space to manage courses, assignments, communication, and assessment data. Unlike a simple file-sharing tool, Schoology connects the entire school community on one platform, which is why so many districts have made it their default system.
A platform built for K-12
The Schoology learning management system was designed with school districts in mind, not higher education or corporate training. That focus shows up in features like parent access portals, student-friendly course navigation, and district-level reporting tools. Administrators can push updates and policies across every classroom from a single dashboard, which makes it easier to keep things consistent across a school or an entire district.
Schoology’s K-12 focus means the platform fits how schools actually work, including built-in grading scales, attendance-linked tools, and parent communication that doesn’t require a separate app.
Who uses Schoology and how
Teachers use Schoology to build and organize courses, post materials, run discussions, and return graded work with written feedback. Students use it to access assignments, submit work, and track their own grades in real time. Parents get a companion view that lets them monitor their child’s progress without interrupting the classroom experience.
Administrators rely on Schoology for data reporting and compliance tracking, especially at the district level. The platform also integrates with tools many schools already use, like Google Workspace, which means you don’t have to rebuild your workflow from scratch to get value out of it. Whether you teach one class or coordinate an entire department, Schoology scales to fit what you actually need from it.
Key features teachers use every day
The Schoology learning management system packs real, practical functionality into a clean interface, and a few features stand out as the ones teachers rely on most consistently. Knowing what those features do helps you build your courses more intentionally and get more out of your planning time.
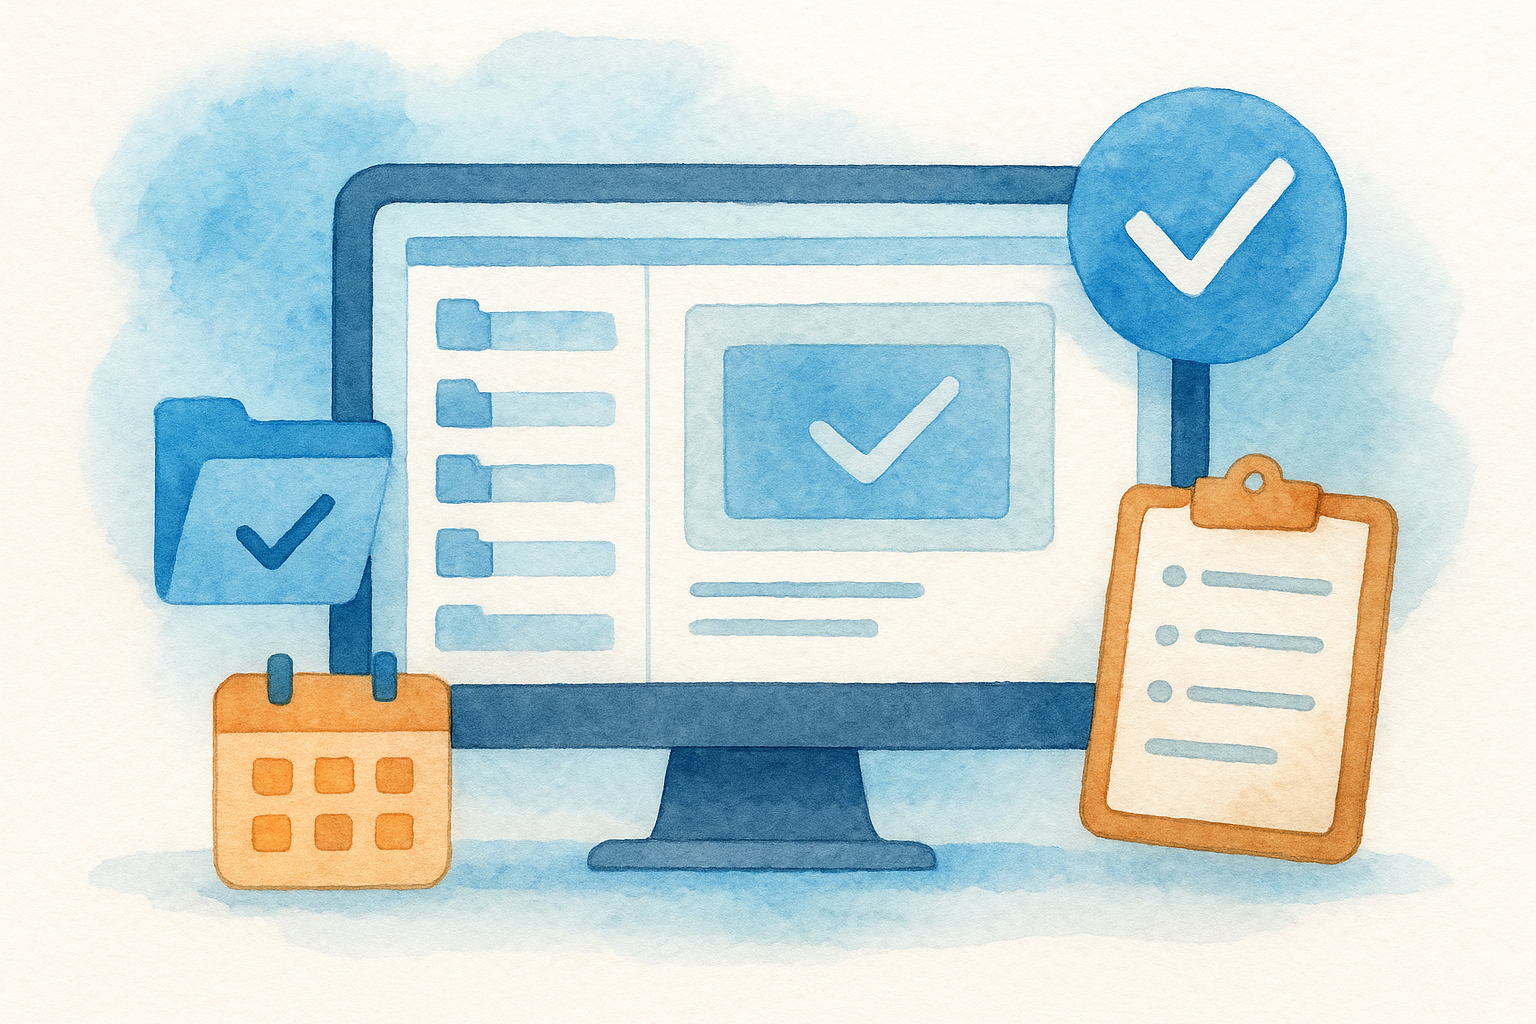
Course and assignment management
Your course page is where everything lives. You can organize materials into folders, set due dates, and control what students see using completion rules and draft settings. This lets you release content gradually instead of overwhelming students with everything at once.
Common things teachers set up here:
- Folders organized by unit or week
- Assignment due dates with automated reminders
- Media albums for collecting and displaying student work
Building clear folder structures from the start saves you real time mid-semester when you need to update, reorder, or repurpose materials.
Grading and feedback tools
Schoology’s gradebook lets you return scored work with written comments directly on submitted files, which eliminates the back-and-forth of separate email threads. You can also build custom grading scales that match your school’s rubric or standards-based system.
For teachers already using Google Workspace, assignments sync so students submit Google Docs without leaving Schoology. That keeps your grading workflow in one place and reduces the number of platforms you need to manage each day.
How to log in and set up access
Accessing the Schoology learning management system starts with your school or district, not a personal sign-up. Your IT department or administrator creates your account and provides your login credentials or a single sign-on (SSO) link tied to your school’s network. If you’re unsure where to go, check your district’s website or ask a colleague for the direct login URL.
Logging in for the first time
Most teachers log in through their district’s custom Schoology URL or through Google SSO if the district uses Google Workspace. Once you’re in, walk through your profile settings first, add a photo, update your notification preferences, and confirm your email address. This takes about five minutes and prevents small headaches later.
Set your notification preferences during initial setup so you don’t end up with hundreds of email alerts for every student submission.
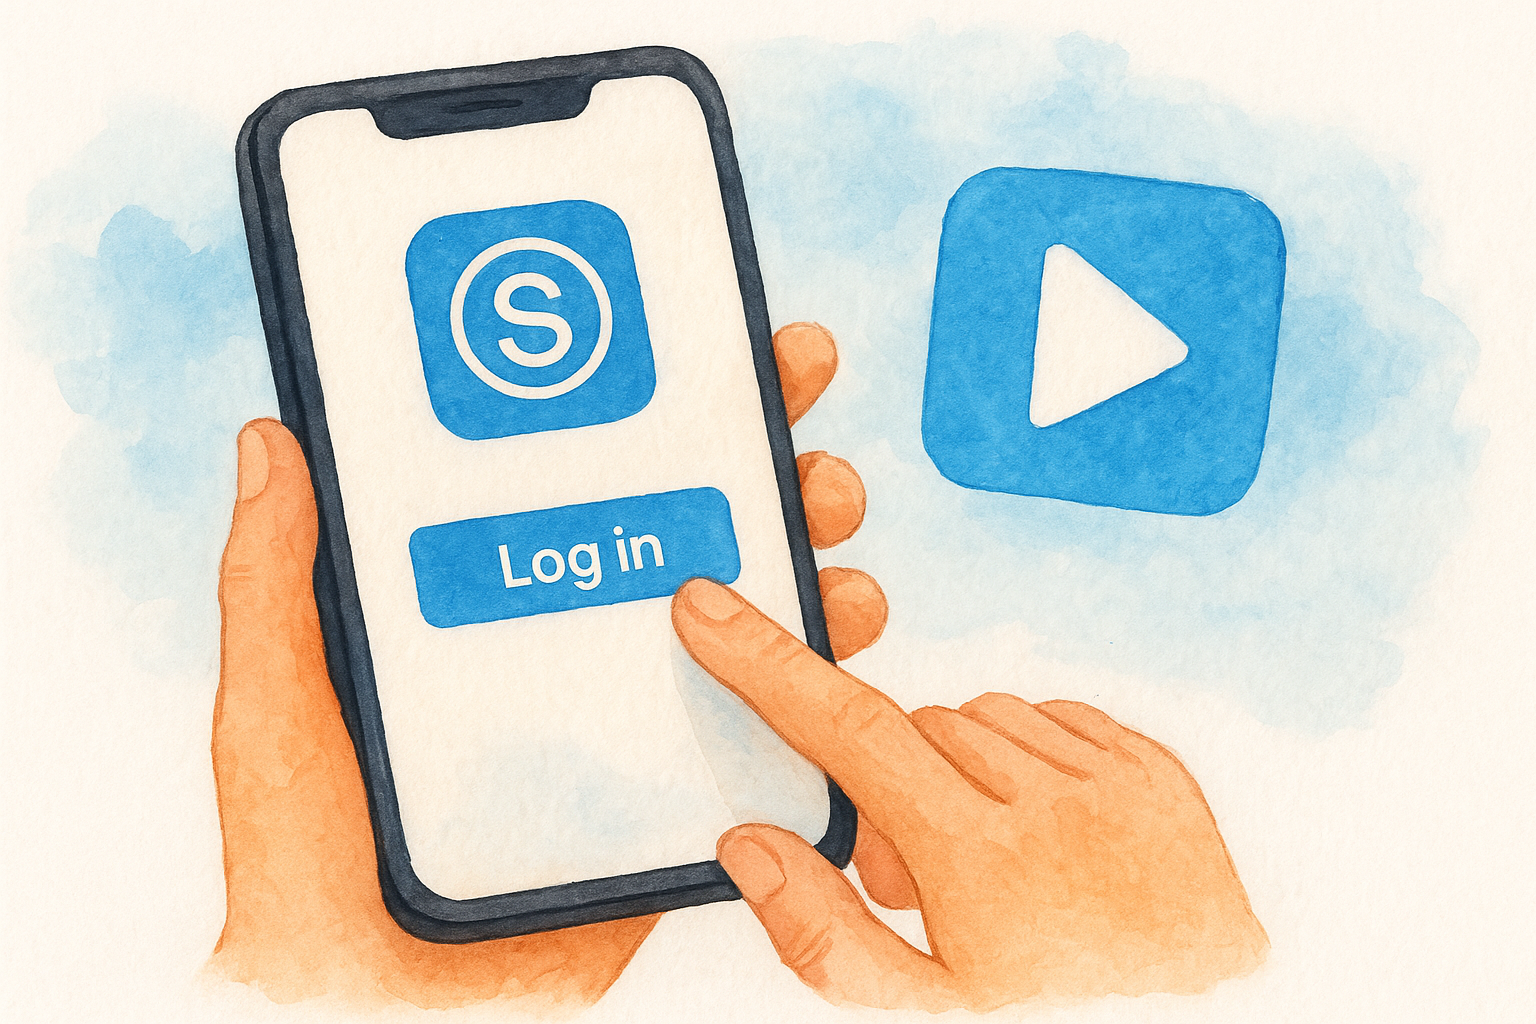
Setting up the mobile app
Schoology has a free mobile app available for both iOS and Android. Download it, open it, and select "Log in with Google" or enter your district credentials manually. The app mirrors your desktop view and lets you grade, message students, and post updates from anywhere without opening a laptop.
How to use Schoology in your classroom
Once you have access, the real value of the Schoology learning management system comes from how you structure your courses before students arrive. A few intentional habits make the difference between a platform that sits unused and one that genuinely cuts your workload.
Organizing your course content
Build your folder structure before the first assignment goes live. Group materials by unit or week, label folders consistently, and use completion rules so students unlock content in the intended order. This keeps the pace of your class under your control without daily reminders.
Pin your most-referenced resources, including rubrics and due-date summaries, to the top of the course. Students find what they need without asking you every time.
Running discussions and collecting assignments
Schoology’s discussion boards let students respond to prompts and reply to peers in one place. You grade directly inside the thread, which keeps your workflow contained to a single tab.
Set one consistent submission spot for every assignment so students know exactly where to turn work in each time.
For collecting work, the Assignments tool lets you attach a rubric and control late submission settings from one screen. Students submit through the platform, and the work appears in your gradebook immediately.
Troubleshooting and support options
When something breaks in the Schoology learning management system, the fix is usually faster than you expect. Most problems fall into a few predictable categories: login failures, missing assignments, and notification errors. Knowing where to look first saves you from waiting on a support ticket for something you can resolve yourself.
Contact your IT administrator before anything else for login or access issues since they control your account settings at the district level.
Common login and access issues
If you can’t log in, check that you’re using your district’s specific URL rather than a generic Schoology address. Many login failures trace back to that one mistake. If a student reports missing work, verify the visibility settings on the assignment and the folder it lives in.
Common quick fixes worth trying first:
- Clear your browser cache and reload the page
- Confirm you’re using the correct SSO method for your district
Finding official help
Schoology’s Help Center provides step-by-step documentation for setup, gradebook errors, app problems, and course settings. Search there first for platform-specific questions before reaching out to anyone else.
For issues tied to your school’s configuration, your district IT team will resolve things faster than any external resource because they manage the back end of your account directly.
Next steps
The Schoology learning management system gives you a real infrastructure for running your courses, not just a place to dump files. You now have a clear picture of what the platform does, how to log in, which features to prioritize, and how to troubleshoot the common issues that slow teachers down. The next move is to take one thing from this article and apply it this week, whether that’s rebuilding your folder structure, setting up the mobile app, or adjusting your gradebook settings.
Small, consistent improvements add up faster than a full platform overhaul. Start with what will save you the most time right now and build from there. For more tools and strategies that help you work smarter in the classroom, visit The Cautiously Optimistic Teacher for resources built specifically for educators who want practical results without the extra noise.