Scripting and Storyboarding a Short Story Scene + Resources
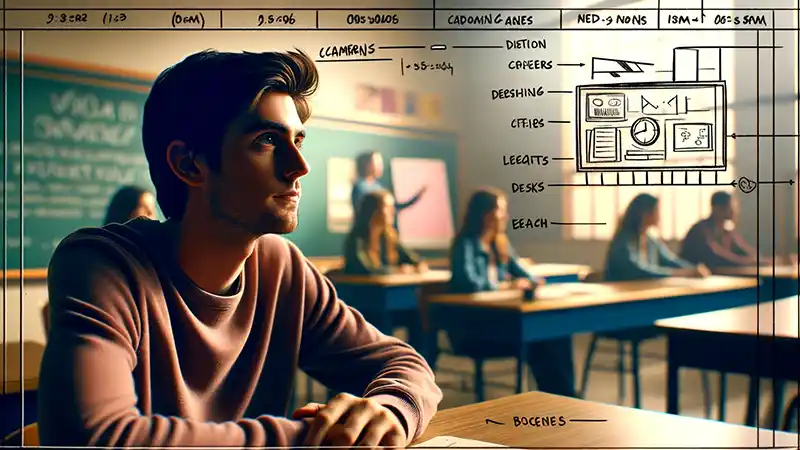
In an era where visual storytelling is pivotal—thanks to films, TV shows, and digital media—bridging the gap between the written word and visual representation has never been more essential. This guide is designed to help you navigate this exciting intersection of literature and visual arts, providing a step-by-step roadmap for turning a scene from any short story into a vivid script and storyboarding it. Beyond the allure of creativity, this exercise aims to enhance comprehension, boost critical thinking, and foster collaboration among your students.
Learning Goals
Comprehension & Interpretation
Indicators: Students can accurately summarize the scene in their own words.
Students can discuss the motives, feelings, and thoughts of characters within the scene.
Scriptwriting Skills
Goal: Students will be able to convert narrative prose into script format.
Indicators: Students use proper script format including character names, dialogues, actions, and setting descriptions.
The scripted dialogues stay true to the tone and essence of the original text.
Visual Storytelling
Goal: Students will be able to translate a script into a visual storyboard that accurately depicts the scene’s progression.
Indicators: Storyboards include essential elements like frames, arrows, and notes.
The storyboard frames represent the main events in the scene sequentially.
Critical Thinking
Goal: Students will analyze and make decisions about how best to represent the scene in both script and visual form.
Indicators: Students make justified choices for certain visual representations or dialogues based on the original text’s intent.
Students can discuss why they made certain choices during the storyboarding process.
Creativity & Innovation
Goal: Students will demonstrate creativity in their representation of the short story scene.
Indicators: Unique and imaginative solutions to visualizing certain elements of the story. Effective use of visual symbols or metaphors in the storyboard to represent themes or motifs from the scene.
Collaboration
Goal: If done in groups, students will effectively collaborate to combine ideas and produce a cohesive script and storyboard.
Indicators: Effective communication and decision-making among group members.
Every member contributes actively, and the final output is a result of collective effort.
Reflection & Feedback
Goal: Students will be able to provide constructive feedback on peers’ scripts and storyboards and reflect on their learning experiences.
Indicators: Students give feedback that is specific, helpful, and kind.
Students can articulate what they learned from the activity and how they might approach it differently next time.
Connection to Broader Literature
Goal: Students will see the broader context and connect the activity to wider literary themes or other works they’ve studied.
Indicators: Students can discuss the scene’s significance within the entire short story or relate its themes to other stories or genres.
Choosing the Right Scene
Pick impactful scenes.
When selecting a scene, it’s essential to choose one that holds significance within the larger narrative. An impactful scene often drives the story forward, reveals key character traits, or sheds light on central themes. This ensures that the storyboard will be rich in content and will capture the essence of the story.
Consider dialogue depth.
Dialogue isn’t just about what characters say but also about what their words reveal about them, their relationships, and the unfolding events. Opt for scenes where the dialogue adds depth to characters, reveals tensions, or provides critical insights. This will make the scripting process more engaging and offer a wealth of material for students to explore.
Evaluate setting details.
The setting of a scene provides the backdrop against which events unfold and can be as crucial as the characters and the action. Scenes that vividly describe the surroundings can offer students an opportunity to flex their creative muscles when translating these descriptions into visual elements on the storyboard.
Analyze character interactions.
How characters interact in a scene speaks volumes about their relationships, motives, and the story’s direction. Scenes rich in character dynamics—whether through conflict, collaboration, or other forms of interaction—will give students a deeper understanding of character development and motivation.
Ensure scene is storyboard-friendly.
While deep introspection or internal monologues might be compelling in written form, they can be challenging to depict visually on a storyboard. It’s beneficial to choose scenes that have tangible actions, visible emotions, or distinct interactions to ensure a seamless transition from text to visual representation.
Breaking Down the Scene: Scripting
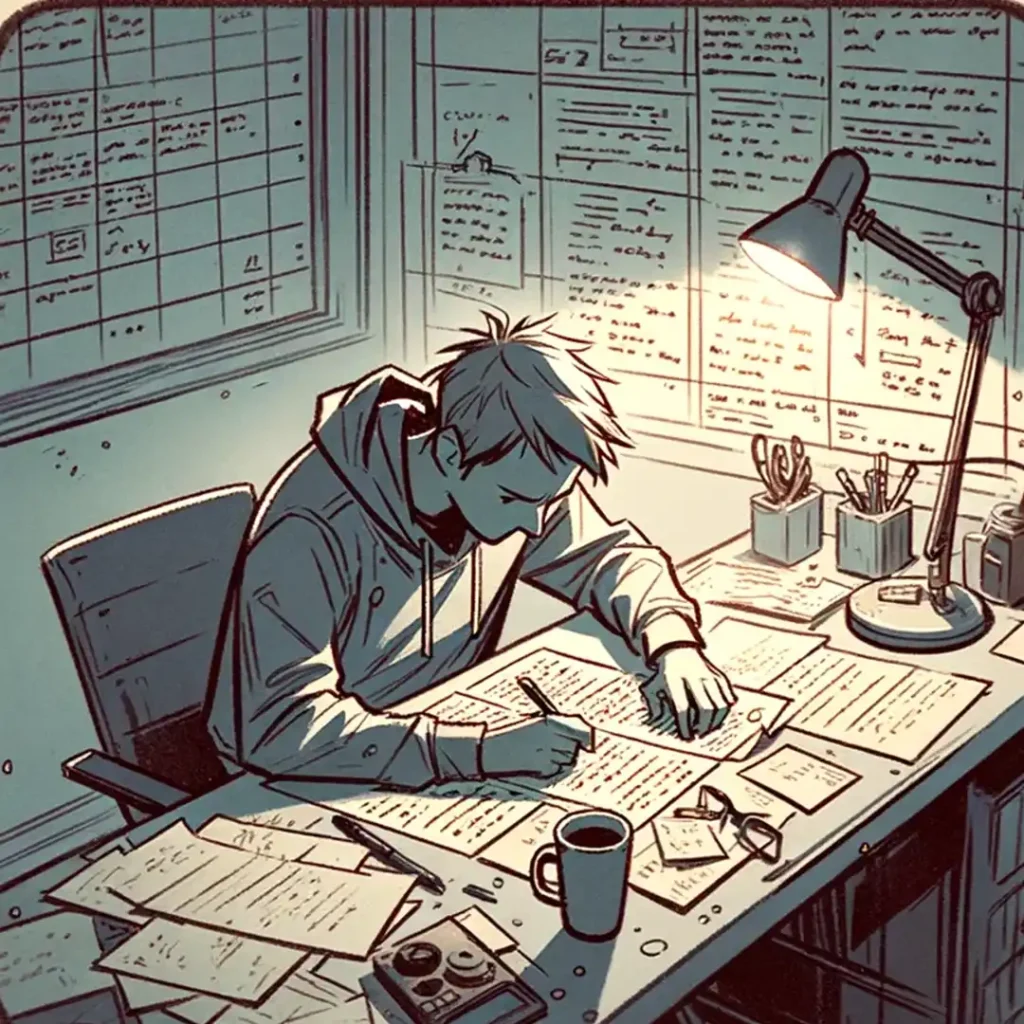
Scriptwriting, at its core, is about translating the written narrative of a story into a format that can be visually represented, often in films, plays, or videos. For those new to this form, understanding scriptwriting is akin to learning a new language—one that communicates not just through dialogues but also through actions, expressions, and settings. It offers a unique lens to view and interpret a story, turning passive readers into active participants.
Key elements in a script: character names, dialogue, actions, and setting.
Every script is a blueprint for a visual narrative and is structured around certain fundamental elements.
Character Names: Clearly indicated, usually centered or aligned to the left, and often in caps to differentiate them from other elements.
Dialogue: What the characters say. It’s aligned directly below the character’s name and conveys the spoken words.
Actions: Descriptive passages that illustrate what is happening visually. This includes character movements, expressions, and interactions.
Setting: Offers a brief description of where the scene is taking place. It sets the stage, giving context to the ensuing action and dialogue.
Example: Conversion of a paragraph from a short story into script format.
Let’s take a sample paragraph:
“Jane walked into the dimly lit room, her eyes darting around nervously. The sound of a ticking clock was the only audible noise. Suddenly, Mark, her old friend, stepped out from behind a curtain, surprising her.”
In a classroom script format, it could appear as:
INT. DIMLY LIT ROOM - NIGHT

The room is quiet except for
the ticking of a clock. JANE
enters, her eyes scanning
the surroundings with
apprehension.

JANE
(whispering to herself)
What's going on?

Suddenly, MARK emerges from
behind a curtain.

MARK
(smiling)
Surprised to see me, Jane?

JANE
(startled)
Mark?! What are you doing
here?
Visualizing the Scene: Storyboarding
What is a storyboard and why it’s a powerful tool for visual storytelling
A storyboard is a graphic representation of how a story unfolds visually, scene by scene. Think of it as a comic strip version of your script, capturing the key moments, emotions, and transitions. It’s a crucial tool in filmmaking, animation, and various forms of media, as it bridges the gap between the initial concept and the final production. For students, storyboarding cultivates an understanding of visual storytelling, enabling them to think critically about how to best represent narrative elements in a visual medium.
Basic elements of a storyboard: frames, arrows, descriptions, and notes. Every storyboard consists of a few foundational components:
Frames: These are boxes that contain illustrations of each significant moment or action in the scene. They represent what the camera would capture if the script were being filmed.
Arrows: Often used to indicate movement within a frame or transition from one frame to the next, giving a sense of direction and flow.
Descriptions: Short pieces of text below each frame, detailing any significant actions, character emotions, or essential details not evident from the illustration alone.
Notes: These might include additional information about the scene, such as camera angles, lighting preferences, or other directorial insights that can enhance the visual storytelling process.
Step-by-step guide to drawing a simple storyboard.
Start with the Script: Before sketching, re-read the script segment you’re about to storyboard to understand its essence and the key moments you need to capture.
Draw Frames: Begin by drawing a series of rectangles on a piece of paper or digital tool, ensuring you have enough to cover each pivotal action or moment in the script.
Sketch the Scene: Inside each frame, sketch out the main actions as they occur in the script. These don’t have to be detailed or perfect—stick figures and basic shapes can work. Focus on composition and the primary actions or emotions.
Add Arrows & Movement: Use arrows to show movement of characters or transitions from one frame to the next.
Include Descriptions: Beneath each frame, write a brief description of what’s happening, referencing the script as needed.
Incorporate Notes: Add any additional insights or directives that can offer clarity or enhance the visual representation.
Review & Refine: Once the entire storyboard is drafted, review it against the script to ensure accuracy and completeness.
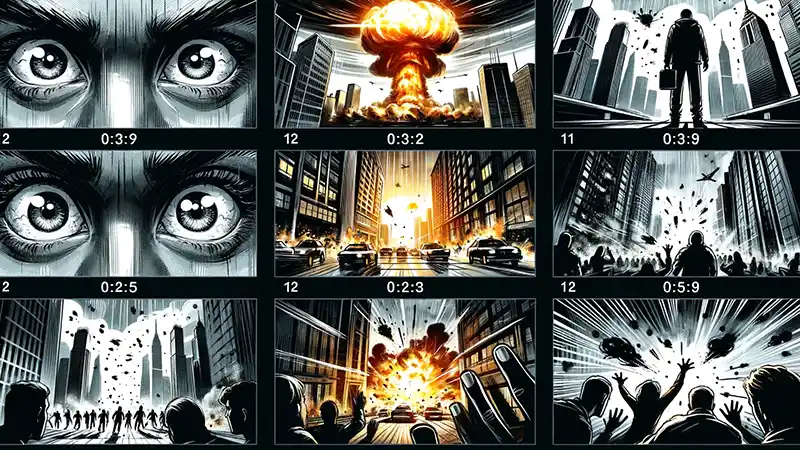
Types of Shots
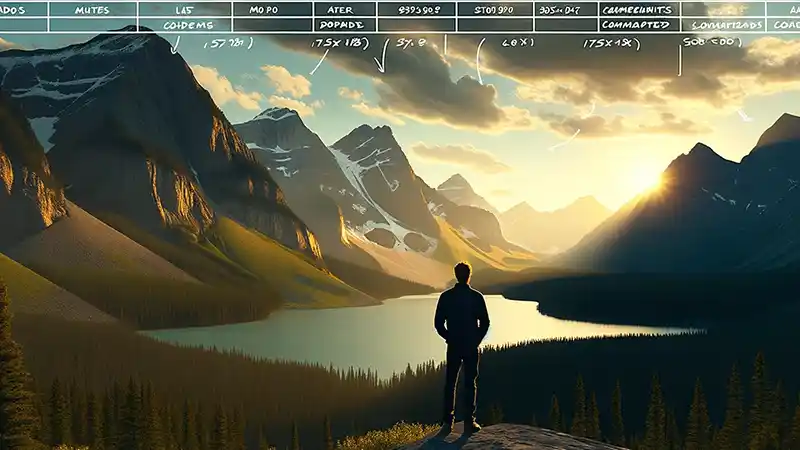
Establishing (Ex. Wide)

Framing: This shot is typically a long or extreme long shot at the beginning of a scene, meant to show the audience where the action is taking place. It usually encompasses a wide area, such as a cityscape, a large mansion from a distance, or a sprawling natural landscape.
Purpose: Directors use establishing shots to set the context for the subsequent scenes, giving the viewer a clear understanding of the location and setting. It establishes time, place, and mood, helping in immersing the viewer into the story’s environment.
Wide Shot
Framing: This shot captures a broad view of the subject while still showing the full context. If it’s a person, a wide shot might show their entire body from head to toe while still featuring a significant portion of the surrounding environment.
Purpose: Directors use wide shots to provide a broader context around the main subject. It allows viewers to understand the relationship between characters and their environment, often used to depict action sequences or showcase expansive settings.
Medium Shot
Framing: This shot captures the subject from the waist up (or sometimes the knees up). The focus is tighter than a wide shot but broader than a close-up, offering a balanced view.
Purpose: Medium shots are versatile and commonly used in films. They help bridge the gap between wide shots (that show the setting) and close-ups (that show emotions). Directors use them to showcase interactions between characters, often during dialogues, giving a clear view of body language while still capturing facial expressions.
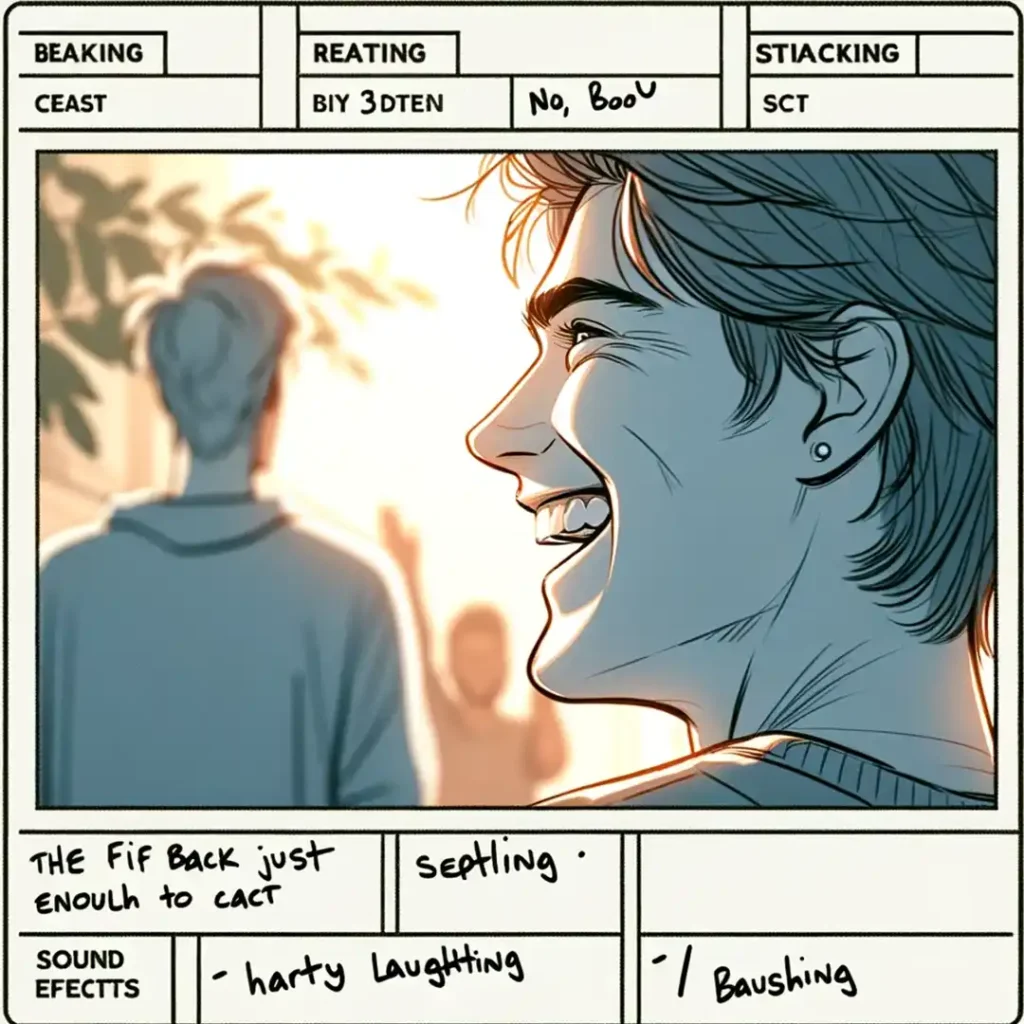
Close-Up
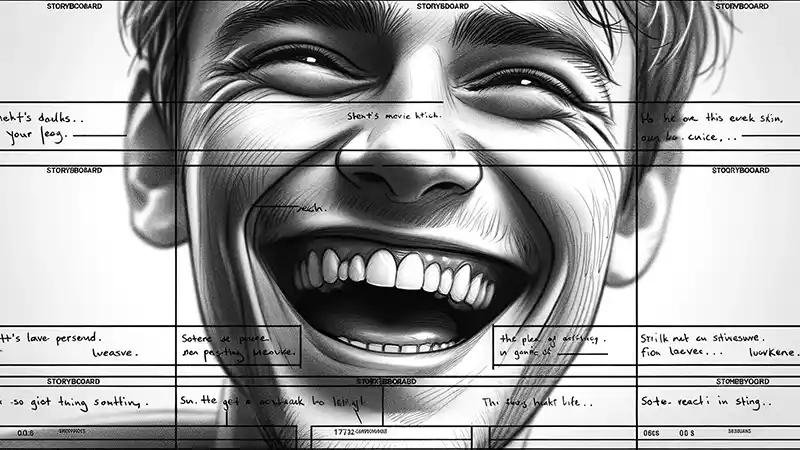
Framing: This shot focuses tightly on a subject. If it’s a person, the shot might frame just the face, providing a detailed view of facial expressions.
Purpose: Close-ups are intensely personal and are used by directors to convey deep emotions, reactions, or feelings. It allows viewers to connect with the character on an intimate level, highlighting subtle facial expressions and emotions that might be lost in wider shots.
Extreme Close-up

Framing: This shot is even tighter than the close-up, focusing on a very specific part of the subject, such as the eyes, mouth, or an object’s detail.
Purpose: Extreme close-ups are used to emphasize very minute details, conveying a heightened level of intensity. Directors might use it to focus on an object of significance or to capture intense emotions through parts of a character’s face (like eyes welling up with tears or hands trembling). It draws the viewer’s attention to details that are crucial for the narrative or emotional depth.
Downloadable Resources
Ready to set your students on the path to visual storytelling mastery? Get these comprehensive student instructions for scripting and storyboarding a scene from a short story. The second download is a simple storyboard template. Download now and let the creativity flow!
Download the script and storyboard student instructions.
Storyboard Template