Canva For Education For Teachers: Setup, Access, And Ideas
If you haven’t set up Canva for Education for teachers yet, you’re missing out on one of the best free tools available to educators. Canva’s education version gives you full premium access, including thousands of templates, AI-powered design features, and collaboration tools, all at no cost. The catch? There isn’t one. You just need to verify that you’re a teacher.
At The Cautiously Optimistic Teacher, we’re always looking for tools that actually save time instead of adding another thing to your plate. Canva for Education fits that description. Whether you need to build a slide deck, design a worksheet, or create a visually engaging assignment, it handles the heavy lifting so you can focus on teaching.
This guide walks you through how to sign up, get verified, and start using Canva for Education in ways that make a real difference in your classroom. You’ll find step-by-step setup instructions, practical use cases, and ideas for putting the platform’s design and AI tools to work, no graphic design experience required.
What Canva for Education includes for teachers
When you sign up through the education program, you get full Canva Pro access at no cost. That means every premium template, element, font, and AI feature unlocks the moment your account is verified. For canva for education for teachers, this is the core value: professional-grade design tools without a subscription fee or a credit card on file.
The free access through the education program covers everything in Canva Pro, which normally costs around $15 per month for individual users.
Premium design tools and AI features
Your verified teacher account unlocks Magic Write (Canva’s AI text generator), Magic Design (which builds a full layout from a prompt or uploaded image), and tools like the background remover and text-to-image generator. You also gain access to over 100 million premium stock photos, videos, and graphic elements. Here is a quick breakdown of what becomes available:

| Feature | What it does for you |
|---|---|
| Magic Write | Drafts text for slides, worksheets, and lesson prompts |
| Magic Design | Generates a complete design from a description |
| Background Remover | Strips image backgrounds in one click |
| Brand Kit | Stores your school colors, fonts, and logos |
| Premium Templates | 1,000+ education-specific layouts ready to customize |
Classroom management and student collaboration
Beyond design, Canva gives you a dedicated classroom space where you can add students, assign projects, and review submitted work directly inside the platform. Students receive free linked accounts connected to your class, so they can collaborate on shared designs without needing their own paid subscription. You can leave comments on individual student work, organize assignments by class, and monitor progress, all from the same dashboard where you build your own materials.
Step 1. Check eligibility and get set up
Before you create an account, make sure you meet Canva’s eligibility requirements. Canva for Education for teachers is available to K-12 educators only, which means university professors and tutors at private learning centers do not qualify for the free program. Checking this upfront saves you from going through the signup steps only to hit a wall at verification.
If you teach at a K-12 school in the US, you almost certainly qualify, including part-time instructors, school librarians, and curriculum specialists.
Who qualifies and what to have ready
Canva accepts classroom teachers, school administrators, and school librarians at accredited K-12 institutions. To speed up verification, gather these before you open the signup page:
- Your school email address (this is the fastest path to instant verification)
- Your school’s full name and location
- Proof of employment, such as a school ID or pay stub, in case Canva routes you to manual review
Getting these details together before you start cuts the total setup time noticeably. Most teachers with an active school email get verified automatically within minutes, while manual reviews typically take one to two business days depending on the volume of requests Canva is processing.
Step 2. Sign up, verify, and log in smoothly
Head to canva.com and click "Sign up", then choose the option to sign up as an educator or student. Using your school email address here is the fastest route, since Canva cross-references institutional domains automatically and often verifies your account on the spot.
If you already have a personal Canva account, you can convert it to a Canva for Education for teachers account by going to your account settings and selecting "I’m a teacher" under the education section.
How to complete the signup steps
Follow this sequence to move from signup to a fully verified classroom account without running into delays:
- Go to canva.com/education and click "Get Canva for Education."
- Enter your school email address and create a password.
- Select your school from the dropdown or type the name manually.
- Open the verification email Canva sends and click the confirmation link.
- Log back in and confirm your Pro features are active by checking that premium templates are no longer locked.
Once you confirm your email, your premium access turns on immediately. If Canva routes you to manual review, check your inbox after one to two business days for a follow-up message asking for documentation such as a school ID or employment letter.
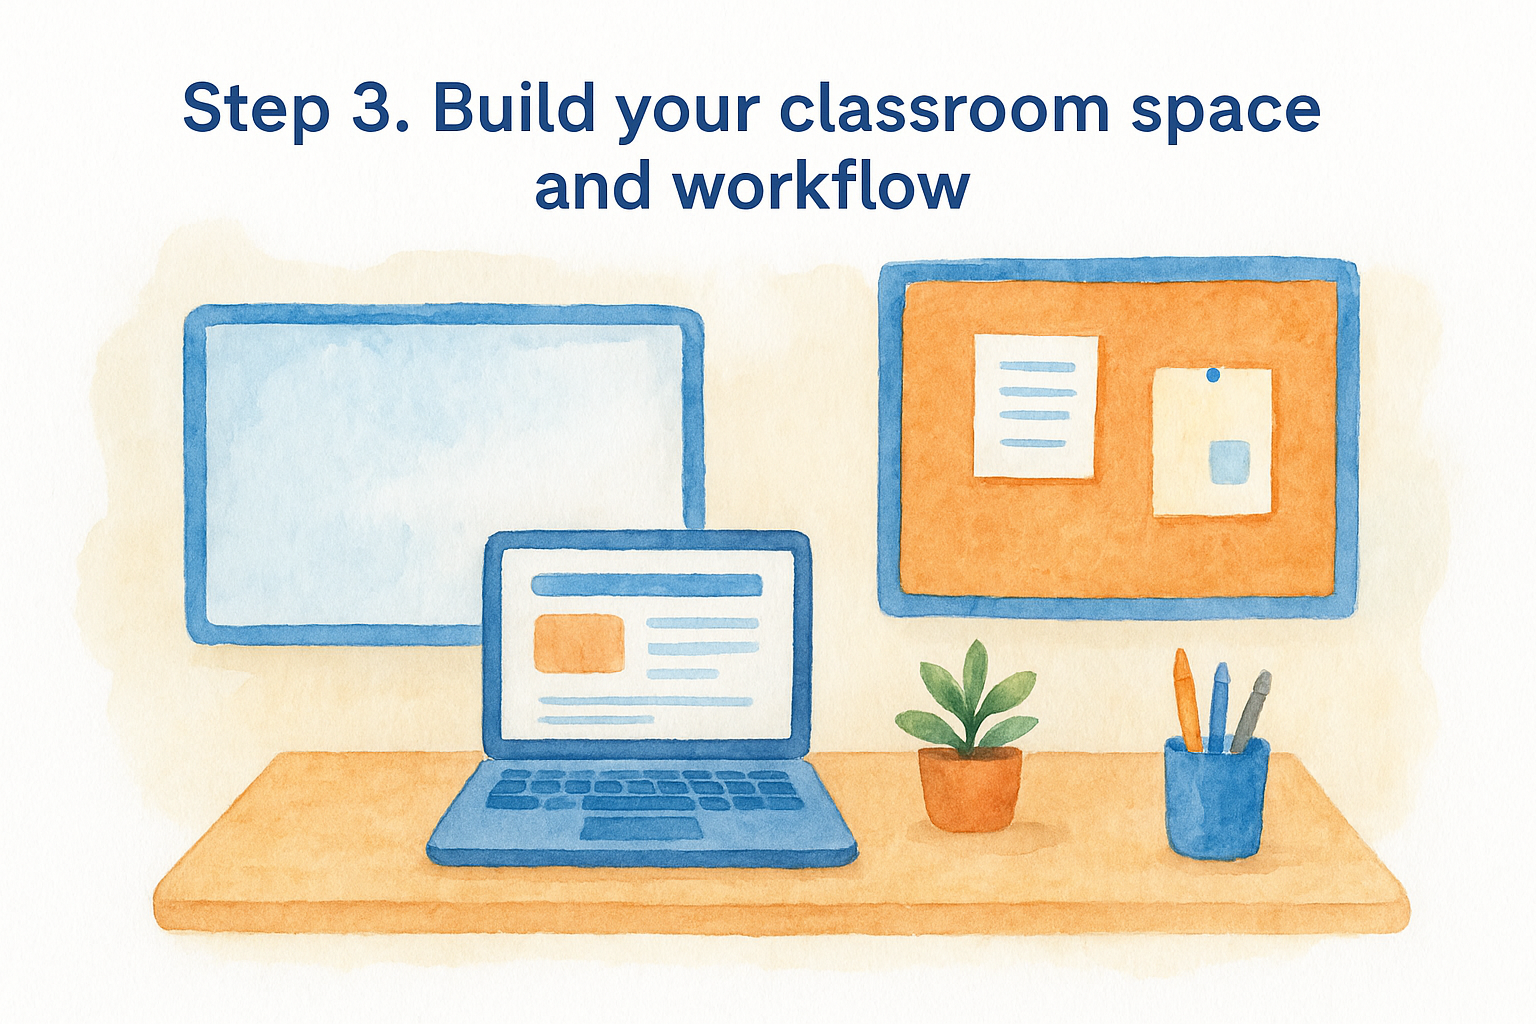
Step 3. Build your classroom space and workflow
Once your account is verified, the next step is setting up your classroom space inside Canva. From your dashboard, click "Classes" in the left sidebar to create a new class. Name each class clearly, for example "Period 3 English" or "8th Grade Science Block 2," so students can locate it without confusion.
Setting up separate classes for each period or subject keeps your assignments organized and prevents students from accessing work meant for a different group.
Add students and assign your first project
Adding students is simple: share a class link directly or enter their school email addresses manually. Once they join, each student gets a free linked account connected to your class, no paid subscription required on their end. From here, open any template, click "Assign," select your class, and attach written instructions before sending.
Organize your materials with folders
Canva for education for teachers includes a built-in folder system that lets you sort your designs by unit, subject, or assignment type. Create a dedicated folder for each unit as you start building materials and drop completed templates in as you go. This keeps your dashboard clean and makes it easy to pull resources back up next year without starting from scratch.
Step 4. Create lesson-ready materials and student work
With your classroom set up, you’re ready to start building actual content. Open the template library and search by subject or grade level. You’ll find ready-made layouts for exit tickets, slide decks, graphic organizers, rubrics, and vocabulary posters, all of which you can customize in minutes.
The fastest way to get a usable resource is to pick a template close to what you need and swap out the text rather than building from scratch.
Use AI tools to accelerate your content creation
Canva for education for teachers includes AI tools that cut content creation time significantly. Type a prompt into Magic Write to generate a reading response question, a writing scaffold, or discussion instructions, then drop the output directly into your design. Use Magic Design when you want Canva to build the full layout for you based on a short description.
Here are four materials worth building first:
- Exit ticket with a reflection prompt and self-rating scale
- Vocabulary graphic organizer with definition, image, and sentence boxes
- Slide deck template for a recurring lesson structure
- Assignment rubric with clear criteria and point breakdowns

Next steps for your classroom
You now have everything you need to get Canva for Education for teachers set up and running. Start with the four materials from Step 4, pick one, build it this week, and use it with your students before moving to the next. Small wins early on make the platform feel manageable rather than overwhelming.
From there, explore the AI tools on a real lesson you’re already planning. Drop your topic into Magic Write and see what it generates, then adjust the output to fit your voice and your students’ level. The goal isn’t to replace your planning process but to cut the time it takes to produce polished materials.
Teaching effectively means having the right resources at the right moment. For more strategies and tools that fit your actual classroom, visit The Cautiously Optimistic Teacher and browse what works for your grade level and subject area.