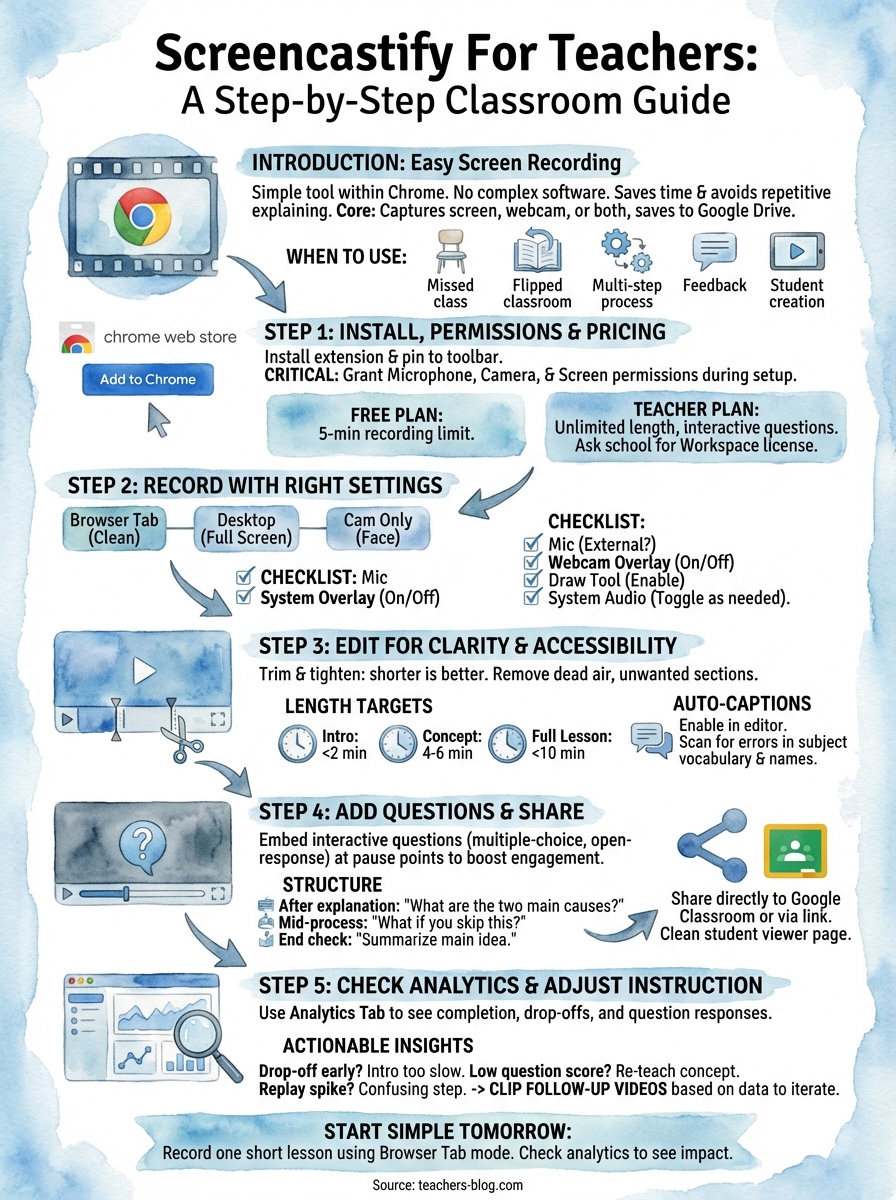
Screencastify For Teachers: A Step-by-Step Classroom Guide
Recording your screen shouldn’t require a film degree. Whether you’re making a quick tutorial for students who missed class or building a full flipped classroom library, Screencastify for teachers remains one of the simplest tools to get the job done. It runs right inside Chrome, records in a few clicks, and doesn’t ask you to learn complicated editing software. That’s exactly why so many educators keep coming back to it.
Here at The Cautiously Optimistic Teacher, we’re always looking for tools that actually save teachers time rather than add another thing to the to-do list. Screencastify fits that description, but only if you know how to set it up and use it effectively. A lot of teachers install it, record one awkward video, and never touch it again. That’s a waste of a genuinely useful tool.
This guide walks you through everything step by step: what Screencastify offers, how to get started with your first recording, practical ways to use it in your classroom, and what the pricing looks like for individual teachers and schools. By the end, you’ll have a clear plan for turning screen recordings into a regular part of your teaching workflow.
What Screencastify is and when to use it
Screencastify is a Chrome browser extension that records your screen, your webcam, or both at the same time. Everything happens inside your browser, so there’s nothing to install beyond the extension itself. You can record a single tab, your full desktop, or just your face, and the video saves automatically to Google Drive when you finish. That simplicity is why it became a go-to tool in schools running Google Workspace for Education.
What Screencastify actually does
At its core, Screencastify captures whatever is on your screen and turns it into a shareable video. You get basic editing tools, the ability to embed interactive questions directly into your recordings, and a student-facing submission tool so learners can send videos back to you. Using screencastify for teachers goes further than simple screen capture. You can draw on your screen while you talk, trim awkward pauses, and share a link without ever leaving Google Drive. The tool handles the technical side so you stay focused on the teaching.
The biggest advantage Screencastify has over more complex video software is that it fits inside a workflow most schools already use.
When it makes sense in your classroom
Not every lesson needs a video, but certain situations make a recording genuinely useful rather than just a novelty. Consider using it when:
- Students miss class and need to catch up on direct instruction without pulling you aside
- You want to flip your classroom and free live time for discussion and practice
- You’re explaining a multi-step process students will need to pause and rewatch
- You want to give detailed written or verbal feedback on student work without a long one-on-one conference
- Students are creating their own video explanations or presentations
Each of these situations shares one thing: a recording handles the repetitive explaining for you, so your actual class time goes further.
Step 1. Install, permissions, and school pricing
Getting Screencastify running takes under five minutes. You add it to Chrome, grant a few permissions, and you’re ready to record. The part most teachers rush through is setting permissions correctly the first time, which saves a frustrating troubleshooting session right before class starts.
Installing the extension and granting permissions
Head to the Chrome Web Store and search for Screencastify. Click Add to Chrome, then pin the extension to your toolbar so it stays visible. When Screencastify launches for the first time, it requests access to your microphone, camera, and screen. Grant all three permissions even if you don’t plan to use your webcam right away.
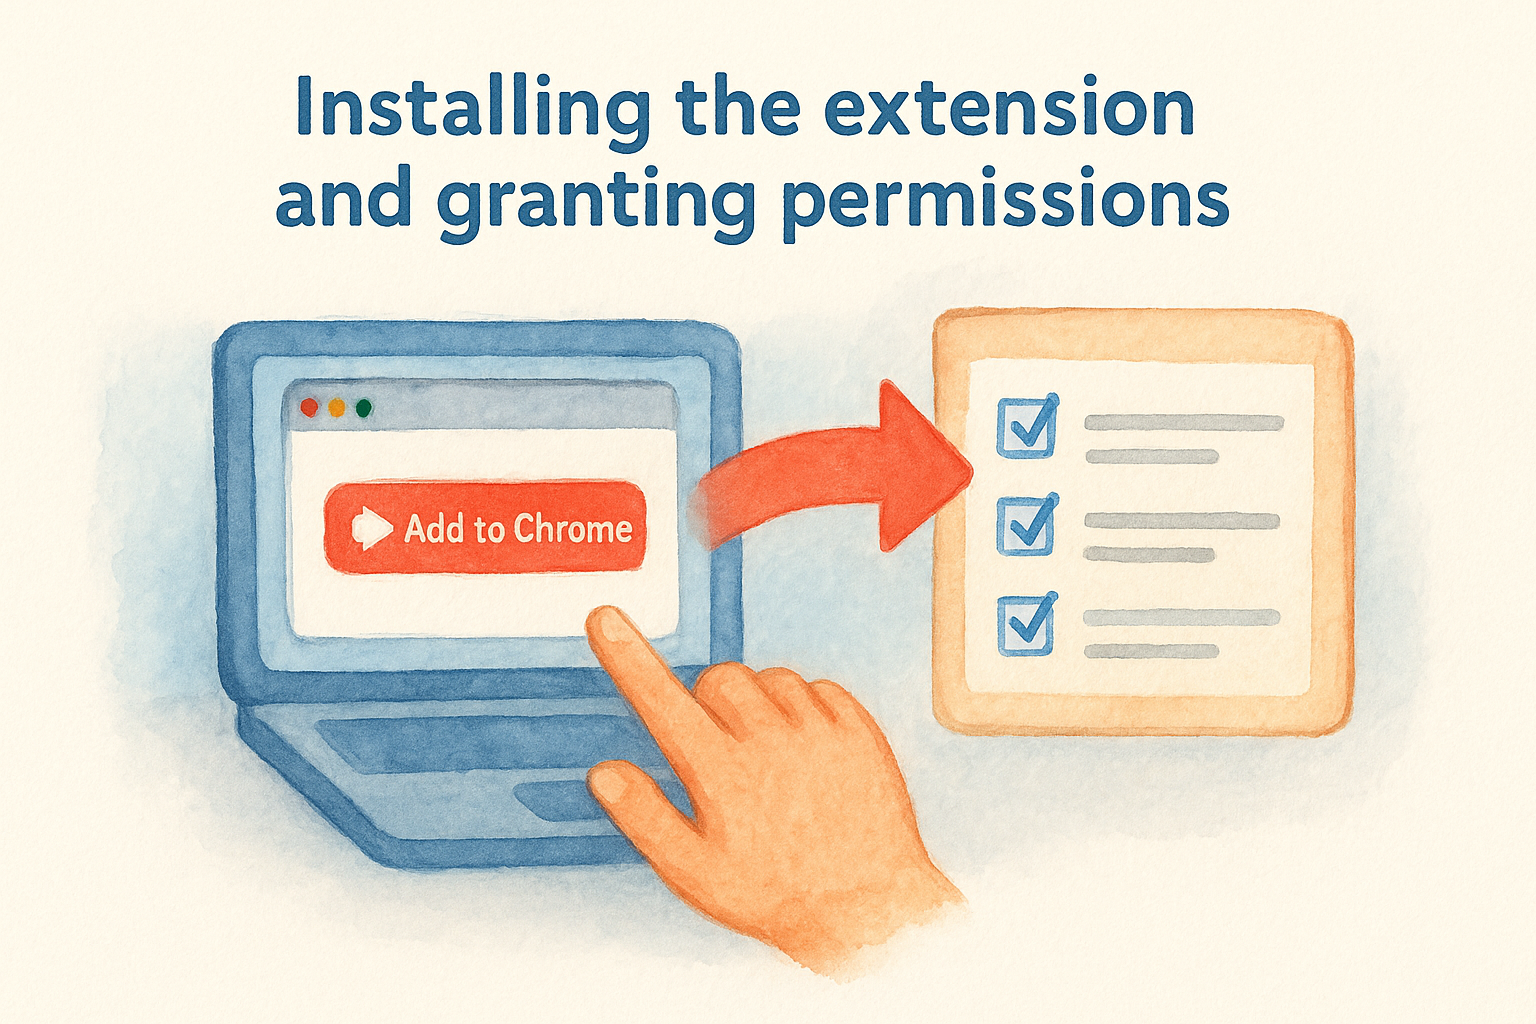
- Open Chrome and visit the Chrome Web Store
- Search "Screencastify" and click Add to Chrome
- Pin the extension to your toolbar
- Sign in with your Google account
- Allow microphone, camera, and screen access when prompted
Skipping the camera permission during setup forces a mid-lesson re-authorization that stops your recording entirely.
School pricing and free plan limits
Using screencastify for teachers on the free plan caps each recording at five minutes. That works for short tutorials but falls short for full lessons. The Teacher plan runs around $99 per year and unlocks unlimited recording length plus the interactive questions feature.
If your school runs Google Workspace for Education, ask your administrator about a district-level license. Bulk pricing significantly cuts the per-teacher cost and adds admin controls for managing student accounts across your building.
Step 2. Record a lesson with the right settings
Before you press record, spend one minute reviewing your settings. Rushing straight into a recording with the wrong mode or a muted microphone wastes your prep time and forces students to sit through a confusing video.
Choose your recording mode
Screencastify for teachers offers three modes: Browser Tab, Desktop, and Cam Only. Browser Tab records a single Chrome tab and keeps things clean since students only see what’s relevant. Desktop captures your full screen, which works better when you need to switch between multiple apps during an explanation. Cam Only records just your face, useful for short introductions or assignment instructions.
Match your recording mode to what students actually need to see, not just what’s easiest to set up.
Settings to check before you hit record
Run through this checklist every time you start a new session so you catch problems before students see the video:
- Microphone: Select an external mic if you have one. Built-in laptop mics pick up keyboard noise.
- Webcam overlay: Turn it on when introducing a new concept so students see your face.
- Draw tool: Enable it to annotate directly on screen during your explanation.
- System audio: Toggle this on only when playing a video clip inside your lesson.
Step 3. Edit for clarity, pacing, and accessibility
Screencastify’s built-in editor handles trimming and basic cuts without sending you to a separate app. After recording, your video opens automatically in the editor so you can clean it up and adjust the length before sharing with students.
Trim and tighten your recording
The editing timeline shows your recording as a horizontal bar. Drag the handles at either end to remove dead air, or scrub to any unwanted section, set a cut point, and delete the clip. Students lose focus fast, so shorter is almost always better.
A tighter video takes ten minutes to edit but saves hours of students asking questions they would have caught by watching.
Aim for these length targets when you edit:
- Introduction or greeting: under 2 minutes
- Concept explanation: 4 to 6 minutes
- Full lesson walkthrough: under 10 minutes
Add captions for accessibility
Screencastify for teachers generates auto-captions inside the editor. Enable them under the accessibility tab before you share, then scan for errors in subject-specific vocabulary since technical terms and proper nouns often get transcribed incorrectly.
Check these spots for common caption mistakes:
- Student names or character names used in examples
- Subject-specific terms like "photosynthesis" or "quadratic"
- Acronyms your class uses regularly
Step 4. Add questions and share with students
Once your video is trimmed and captioned, you can turn a passive recording into an active learning experience. Screencastify for teachers lets you insert multiple-choice or open-response questions directly into the timeline, so students must answer before the video continues. This one feature is what separates a useful classroom video from something students click through without thinking.
Embed interactive questions
Place questions at natural pause points, right after you explain a concept or walk through a key step. Open the Questions tab in the editor and drag a question marker to the exact timestamp where you want students to stop.
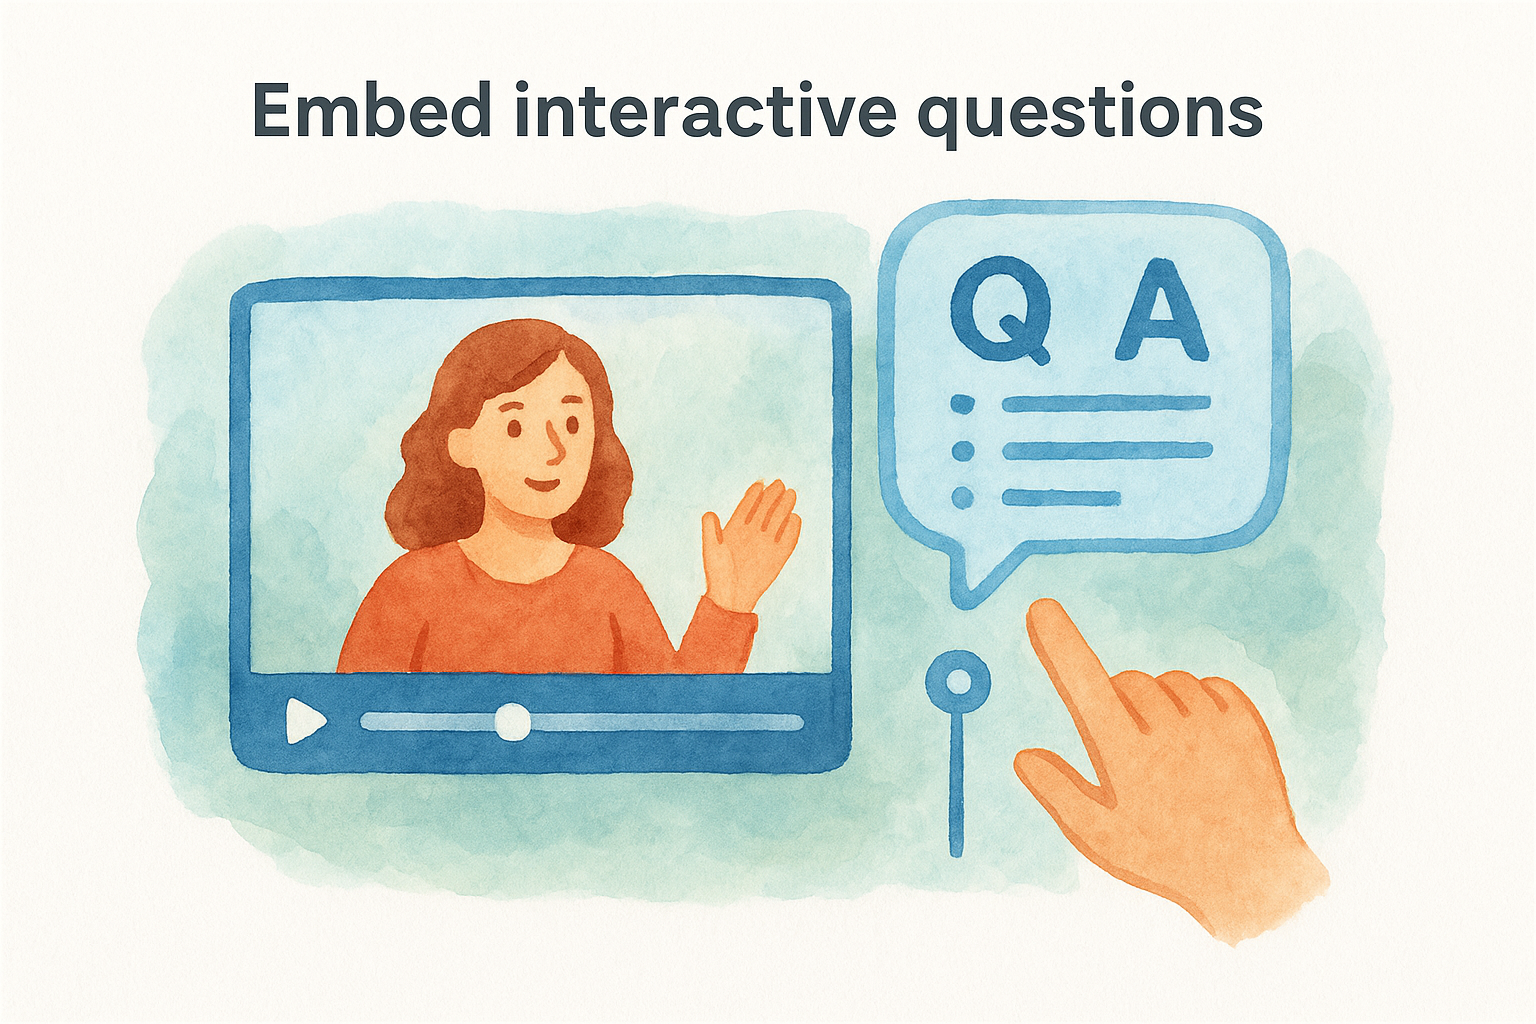
Use this structure when writing your questions:
- After a concept explanation: "What are the two main causes we just covered?"
- Mid-process: "What would happen if you skipped this step?"
- End check: "Summarize the main idea in one sentence."
Questions placed immediately after an explanation increase retention far more than questions saved for the end of a video.
Share the video with your class
Click Share in the top-right corner of the editor, then copy the link or push the video directly to Google Classroom. Students receive a clean viewer page with no editing controls visible, so the experience stays focused entirely on the lesson.
Step 5. Check analytics and adjust instruction
After students watch your video, Screencastify for teachers gives you a data dashboard that shows exactly where engagement dropped, which questions students struggled with, and how many viewers finished the recording. This feedback tells you more about your instruction than most end-of-unit assessments.
What the analytics dashboard shows you
Open your video inside the Screencastify editor and click the Analytics tab. You’ll see a viewer completion graph, individual question response rates, and a timestamp breakdown showing where students stopped watching.
Look for these three signals in your data:
- Drop-off before the 50% mark: your intro is too slow or unclear
- Low completion on a specific question: the concept before it needs re-explanation
- Replay spikes at one timestamp: students are rewatching a confusing step
A sharp drop at the same timestamp across multiple students is a direct signal to reteach that concept in your next live session.
How to act on what you find
Once you spot a weak point, clip a short follow-up video that addresses only the section students struggled with. Replace the original or add the follow-up as a linked resource inside Google Classroom. Iterating on your videos this way turns each recording into a stronger instructional tool over time.
A simple way to start tomorrow
Don’t overhaul your entire teaching workflow on day one. Pick one lesson you already teach well and record a short version using Browser Tab mode. That gives you a real video to share with students, not just a practice file, and it puts something immediately useful in front of your class without requiring a complete redesign of how you teach.
From there, check the analytics dashboard after students watch and note exactly where engagement dropped. Within a week, you’ll have a clearer picture of which recordings save you the most live instruction time. That’s when screencastify for teachers stops feeling like an experiment and starts working as a reliable, repeatable part of your classroom routine.
If you’re looking for more practical teaching strategies and ready-to-use resources built specifically for educators, visit The Cautiously Optimistic Teacher for tools and ideas you can put to work right away.